RECOMMENDED VIBE:
Here’s an album I thought you might enjoy while cooking this recipe ?
Better than store-bought bread crumbs
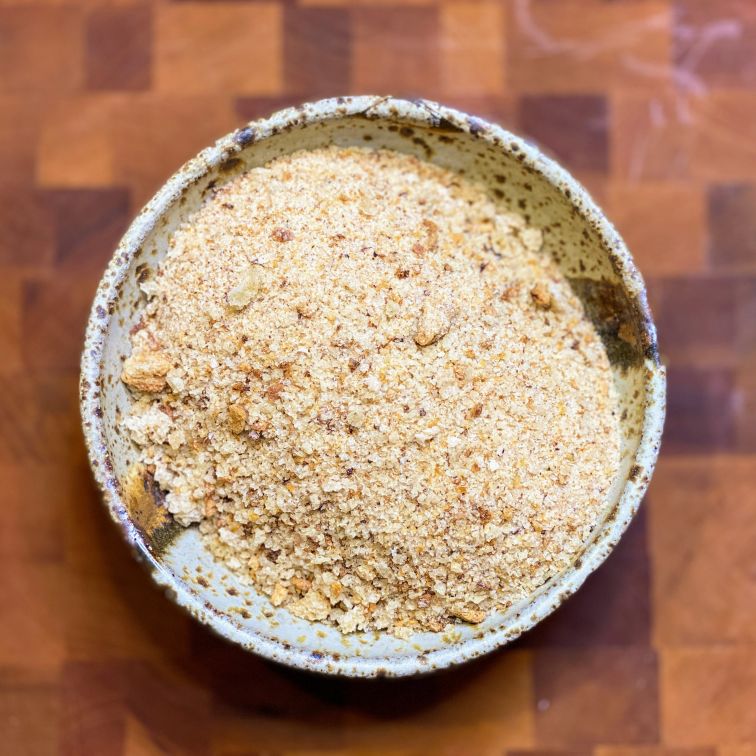
I know, I know. That phrase – better than store-bought – is tossed around a lot, and is frequently wrong. This process is so easy, and the result so good – you will be convinced. As soon as you try these delicious and easy homemade bread crumbs, you will know what I mean. I’ve never had a more crispy and flavorful crunch on casseroles, roasted vegetables, and even these delicious kale chips.
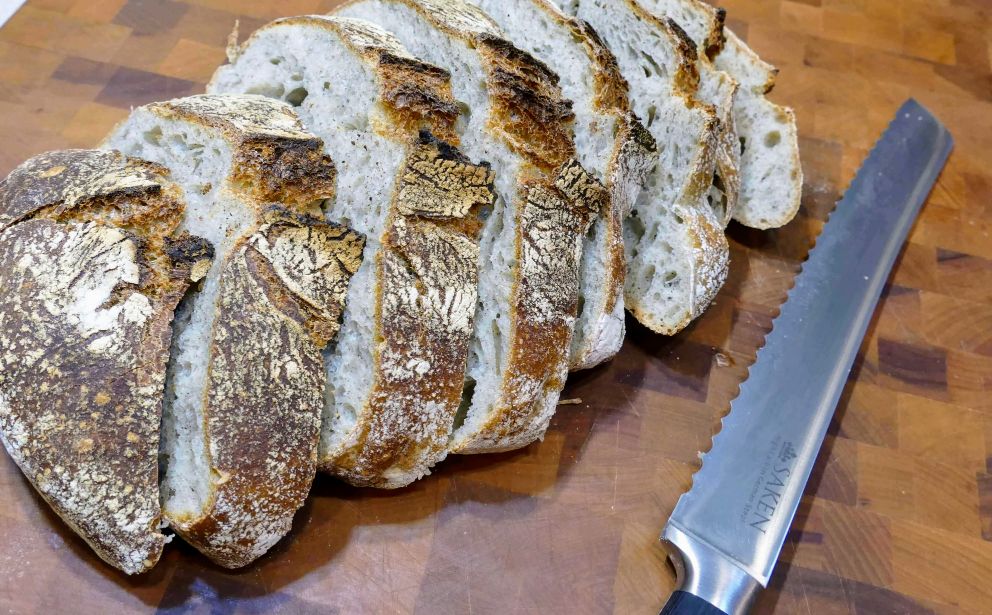
Better bread makes better crumbs
This method (I hesitate to even call it a recipe) can be used with almost any bread. I’m lucky to have an in-house bread baker in the form of Wonderful Wife, so I’m using a delicious whole wheat sourdough loaf. Even using regular store-bought sandwich bread will produce better crumbs than store-bought.
Fresh or stale?
You can use fresh OR stale bread to make homemade bread crumbs, but the prep is just a bit different.
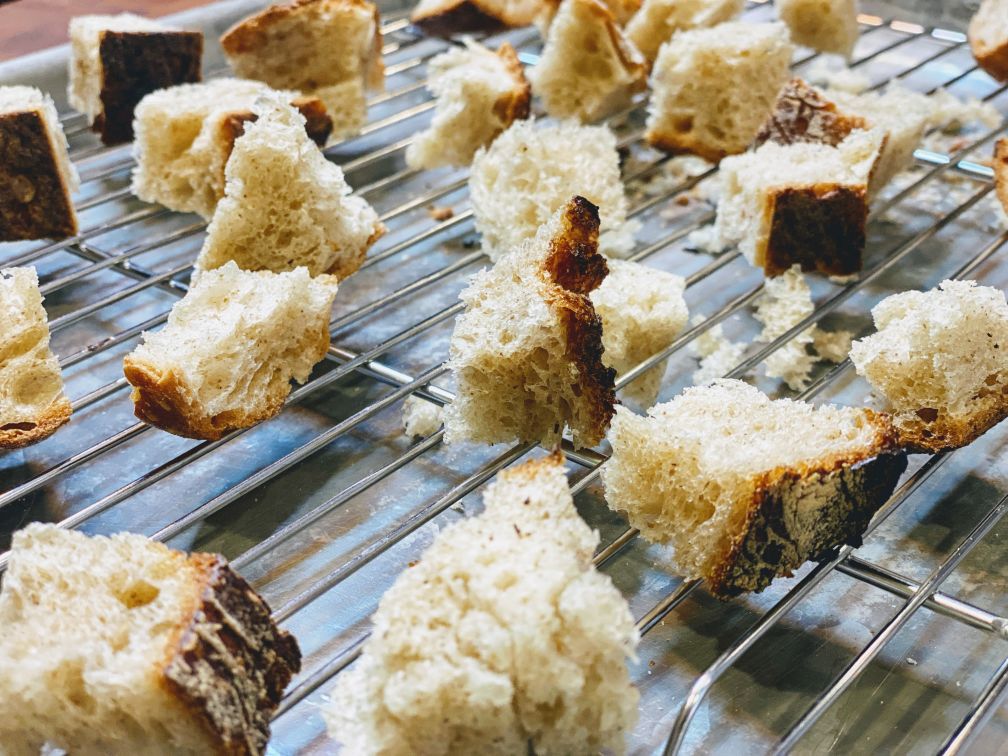
If you are using STALE bread: Try to break or cut the bread into small pieces (1″ or so) before it becomes to dry/hard to break apart. This requires that you catch the bread in that “it’s too stale to eat but not fully dried out” stage, and cut it up to make bread crumbs (or croutons!) in the next few days.
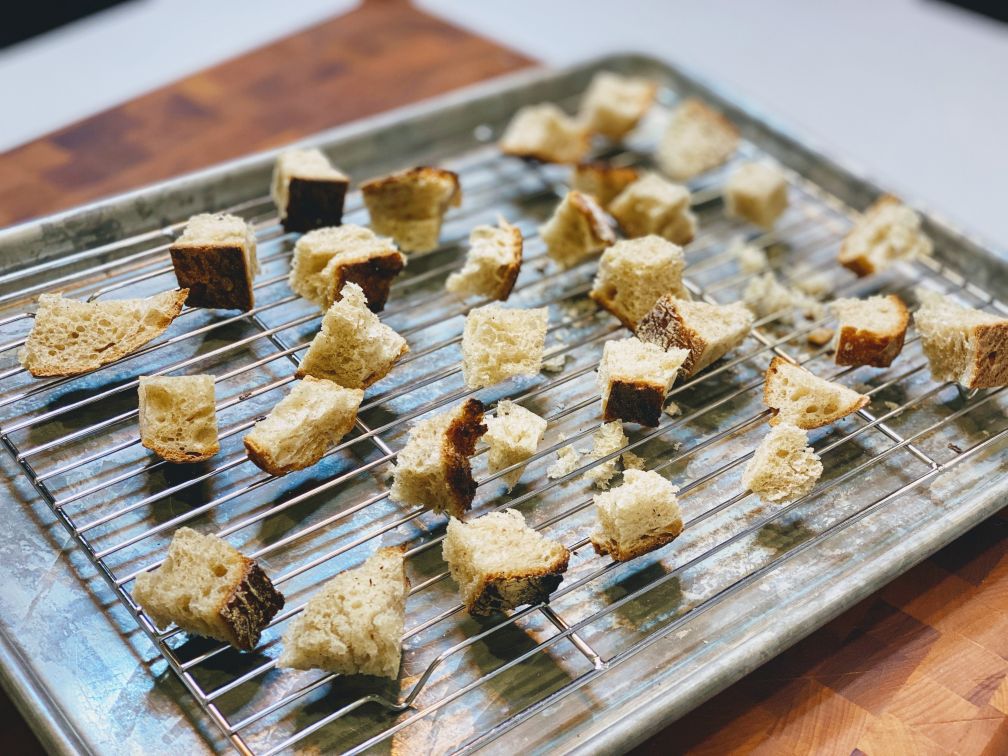
If you are using FRESH bread: The easiest way to make homemade bread crumbs is to cut up and dry out a loaf of bread while it is still somewhat fresh. This takes an hour or hour-and-a-half in a warm (200-degree) oven, but the texture will be more consistent and the result just a bit tastier.
Let the air flow
When you put your bread into the oven to dry out, it’s best to have as much air flow as possible. This is true for most things that you want to come out crispy or crunchy. Contact with the pan or with other food allows moisture to gather, and moisture is the enemy of crunch.
I suggest using a baking rack to lift the bread off the pan, and also to avoid overlapping or touching. You can make bread crumbs in any quantity, from a single slice to multiple loaves at a time. Work in batches or use more than one pan, and you will achieve maximum crispiness.
Low(ish) and slow(ish)
This isn’t exactly an all day recipe, but you do need to take a bit of time at a low temperature to end up with dried bread instead of toasted bread. Set your oven to 200 (too cool to brown or toast) and set the timer for 1 hour. Then check on them. They should feel light, and you should be able to crush the whole piece of bread, with no chewiness or moisture at all. If the bread is not fully dried out after 1 hour, pop it back into the oven for 20 minutes at a time and keep checking.
Grind ’em up!
You can use a food processor or a blender to grind your dried bread into homemade bread crumbs. You can even use a ziplock bag and a rolling pin if you’re in a pinch – this makes it a bit harder to get a fine, uniform texture, but it will work!
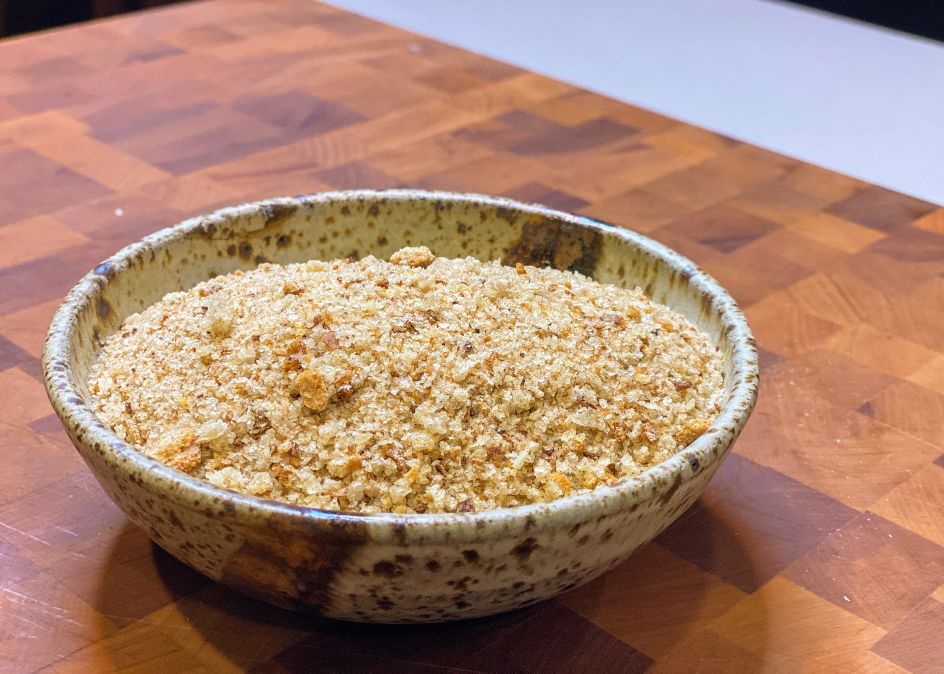
Just pop your dried bread pieces into the blender/processor and pulse until you get a fine, uniform texture.
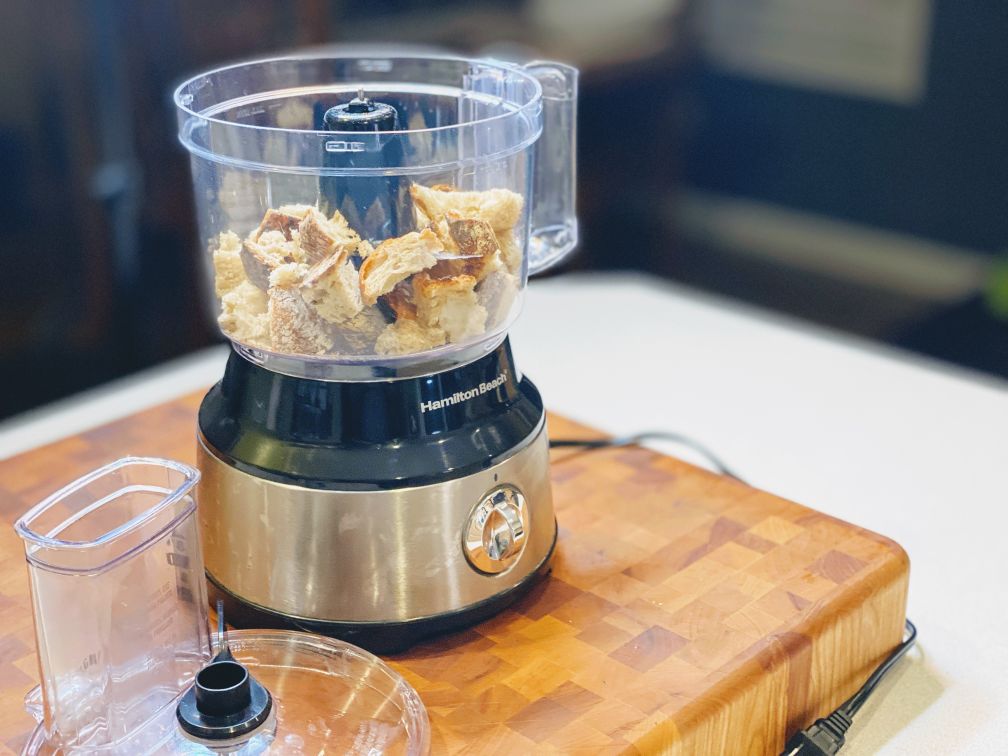
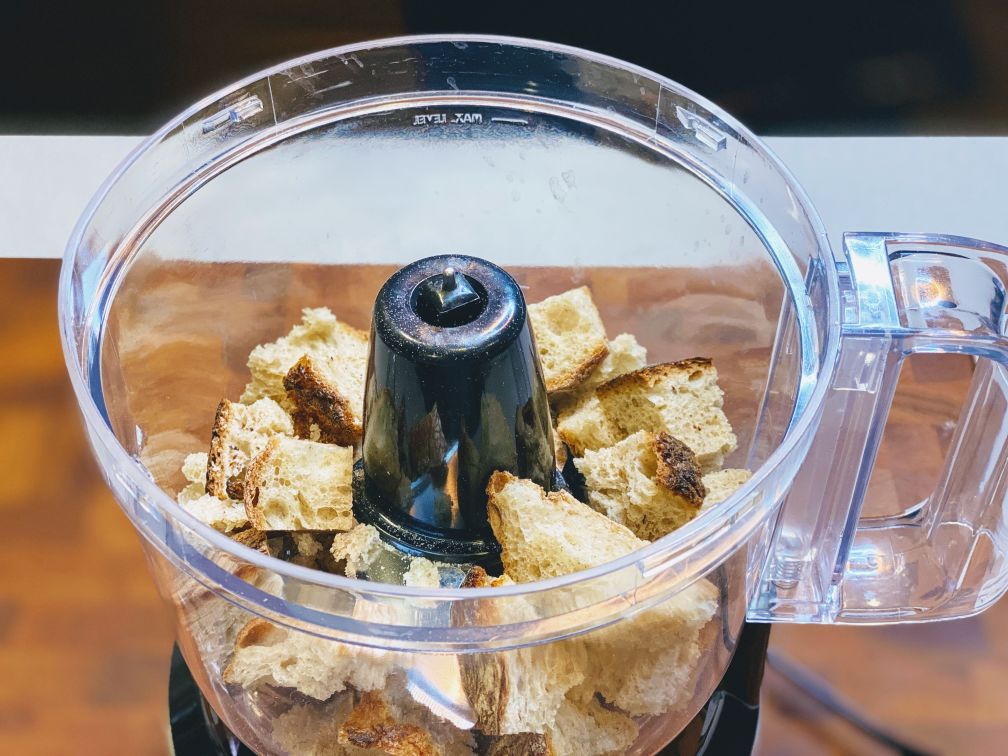
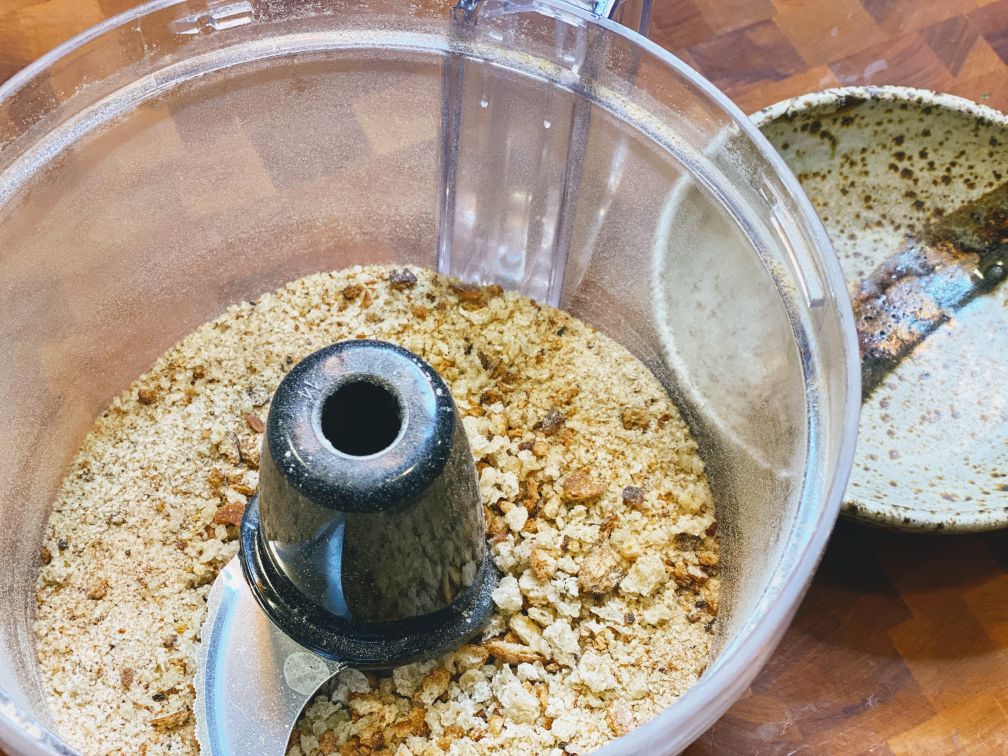
Don’t worry if there are a few stubborn chunks – you can pull some of those out by hand, or leave them in there. They will be a great extra-crunchy bite!
Tis the season?
If you want to season your bread crumbs, you should do it at the end, after you have processed the bread crumbs. For every cup of finished bread crumbs, I like to add:
- 1 tsp italian seasoning (a mix of: basil, oregano, thyme, rosemary, marjoram, & sage)
- ½ tsp garlic powder
- ½ tsp kosher salt
- ¼ tsp black pepper
Feeling crumby?
Here are a few dishes I love to make with these homemade bread crumbs:
- Lemon Parmesan Kale Chips
- Parmesan Roasted Green Beans
- Broccoli Cheese & Rice Casserole
- Garlic Scalloped Potatoes (recipe coming soon!)
- Cheesy Pasta Bake (recipe coming soon!)




0 Comments