


RECOMMENDED VIBE:
Here’s an album I thought you might enjoy while cooking this recipe ?
Aren’t burgers pretty dang simple?
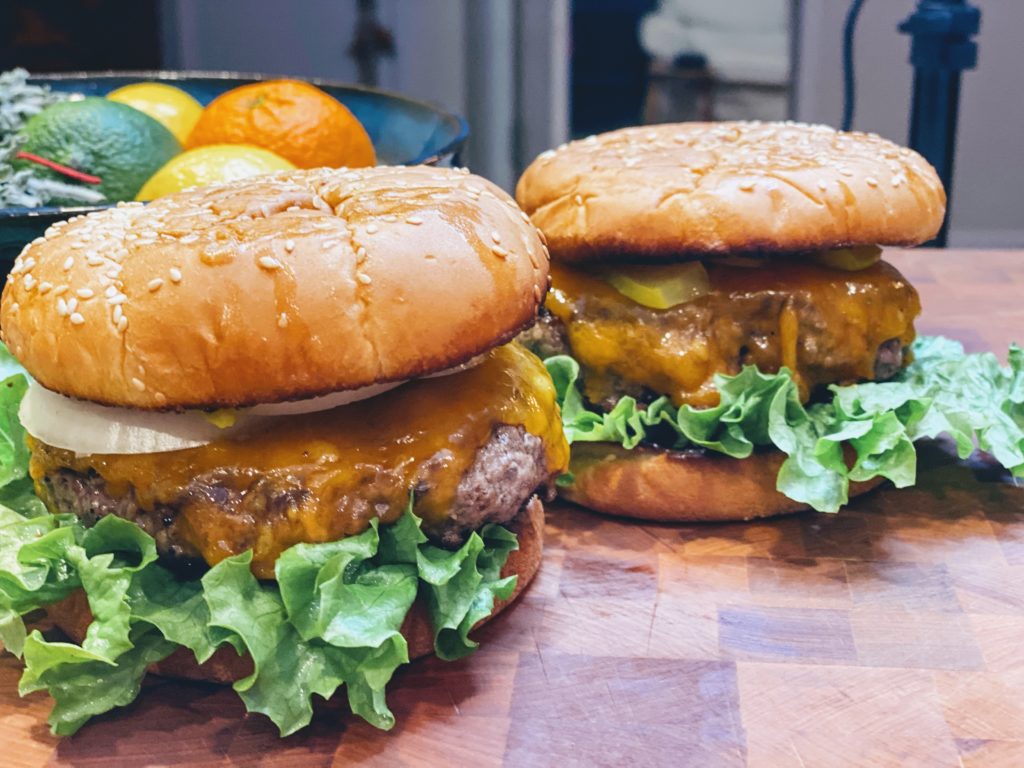
Yes, burgers are simple. But you can 100% go wrong! Dry, dense, crumbly, greasy – not words we want to associate with delicious burgers. BUT have no fear – by following a few simple rules, you can have perfect Giant Cast Iron Burgers every time – and it only takes minutes! These jumbo cast iron burgers are a go-to for my son and me – but you can certainly make them whatever size you like! ?
The rules:
- Get the size right
- Hands off
- Keep it cold
- Less is more
- Set it & forget it
Rule#1: Get the size right
No one likes a giant burger on a dinky bun or vice versa! Assume your patties will contract a bit (¼” tp ½” in my experience) and plan accordingly. I’ve included instructions below for a super easy DIY burger mold that will help you achieve uniform patties every time!
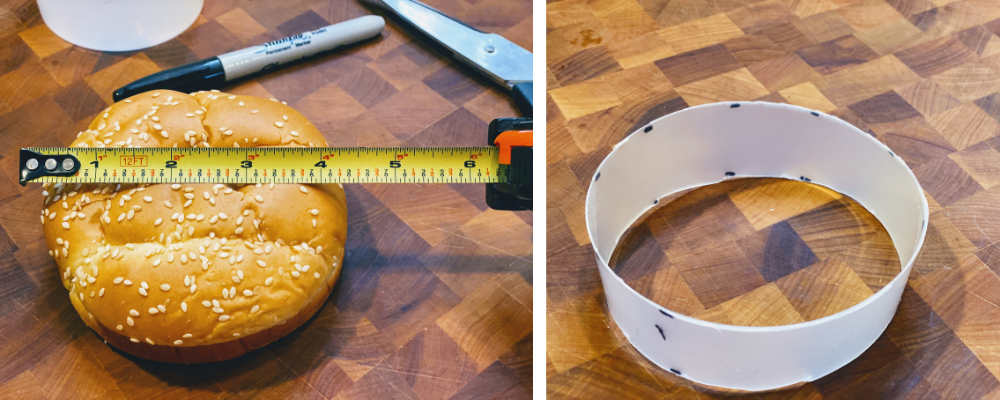
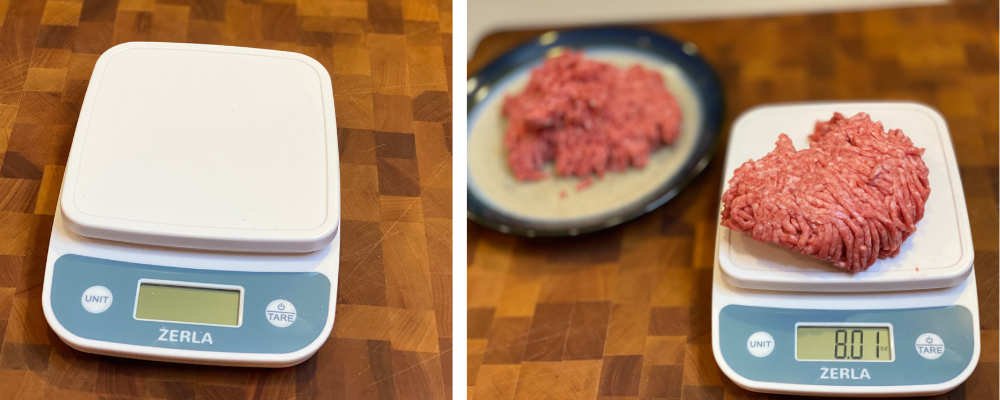
MEASURE TWICE, CUT ONCE…or something like that? With a kitchen scale (highly recommend) and some very simple math, you can portion out patties that are identical in size. This really helps to not handle the meat too much – which brings us to….
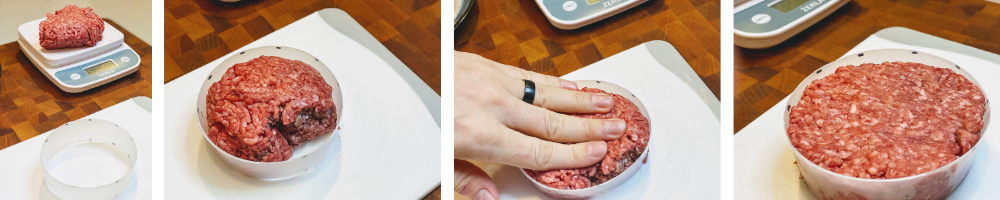
Rule #2: Hands Off!
A key to perfect burgers is to handle the meat as little as possible. Work it too much and you will end up with dense meatloaf-like burgers. You want to form your patties with as little hands-on contact as possible!
Once you have portioned out your patty, just place it in the center of your super-fancy DIY burger patty mold and gently press it into all of the corners. Gently push the formed patty out of the mold and onto a plate or parchment paper. Then into the fridge until you’re ready to cook up your Giant Cast Iron Burgers! Which brings us to…
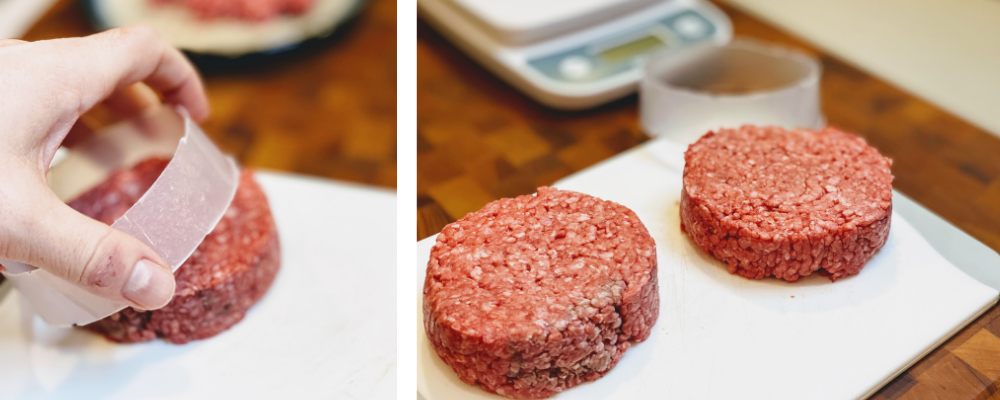
Rule #3: Keep it Cold
As the fat in ground beef warms up, things will get sticky and hard to handle. Also, all that moisture (fat) is more likely to run right off when you start cooking. Best to keep the meat in the fridge until you’re ready to put your Giant Cast Iron Burgers on the heat. I like to form my patties at least 30 minutes, and up to several hours, ahead of time.
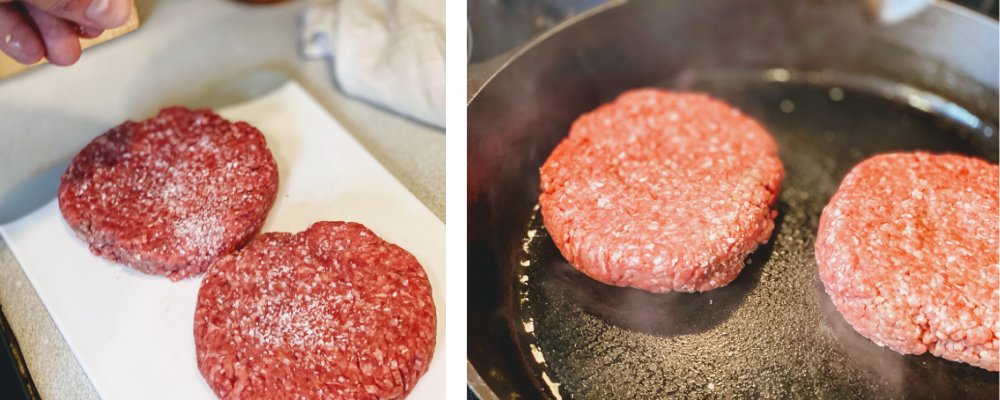
Rule #4: Less is More
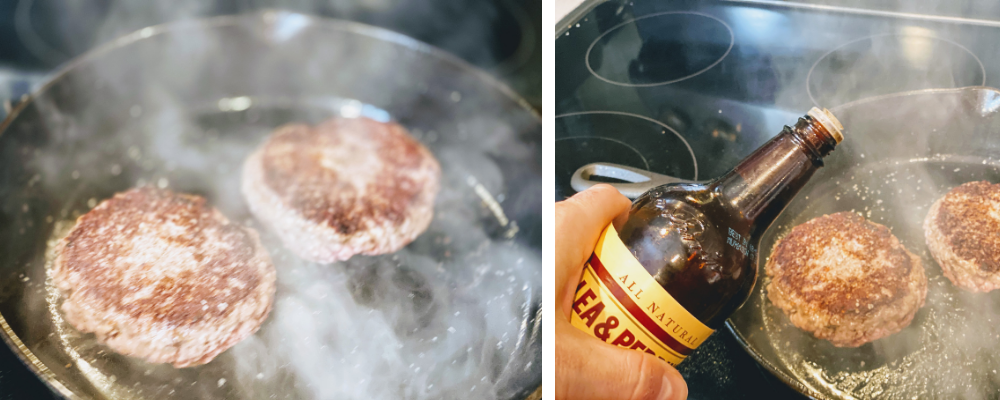
Many people overseason their burgers or season them TOO EARLY. Remember that salt brings moisture out of proteins, and we don’t want moisture on the outside of our burgers (this prevents browning!), we want that moisture INSIDE our burgers. A sprinkle of salt & pepper just before cooking is all you need. I add a splash of Worcestershire to one side of the burger AFTER I flip it, but that’s it!
Rule #5: Set it & Forget it
Put your cast iron skillet on HIGH heat and allow the pan to completely heat up – you should see some smoke coming off of the pan, and that’s A-OK! Put the burgers in the pan and press down very gently with a spatula to ensure good contact with the pan. After this, walk away. No more pressing, no incessant flipping. LEAVE THEM ALONE until they are ready to flip.
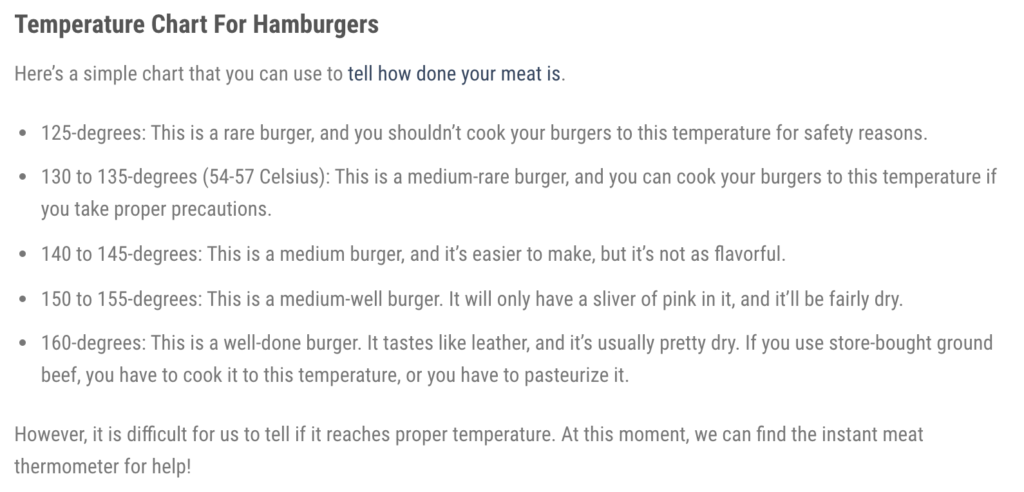
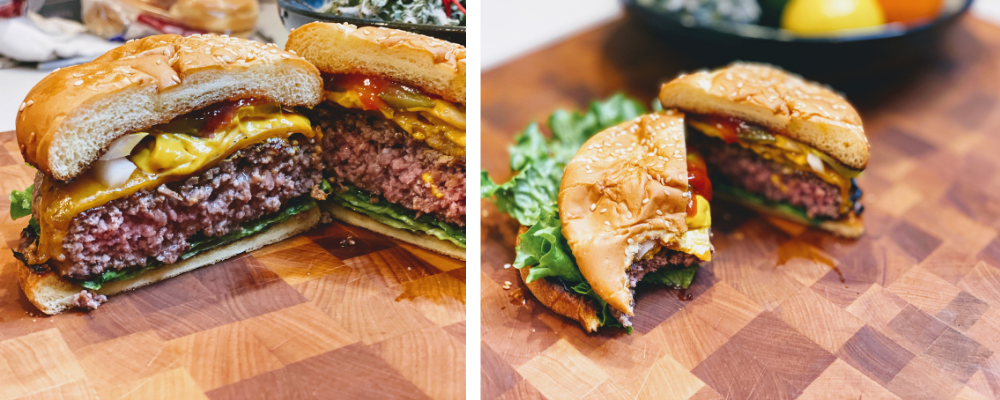
Timing depends on the THICKNESS of the burgers. These 1/2-pound monsters were around 1″ thick. 4 minutes per side and they were perfectly medium. Gor a more reasonable patty pf 3/4″ or so, I would recommend taking that down to 3 minutes per side. If you’re not sure, invest in a good instant-read thermometer and consult a doneness chart like this one from Thermo-Pro:
Cheese or nah?
Cheese is up to you! If you decide not to put cheese on your burgers, I will only judge you very quietly to myself. ?
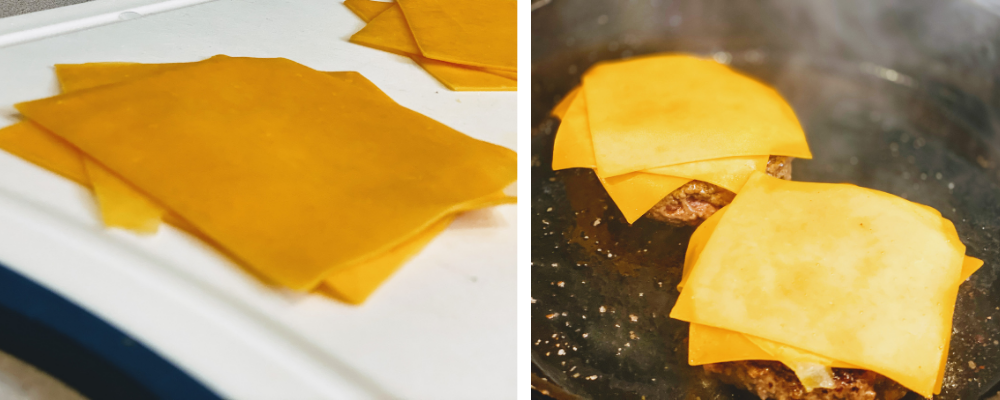
If you are adding cheese, follow these tips:
- Use shredded cheese or 2-3 THIN slices of cheese. Resist the temptation to pop a thick slab of cheese on top. Your jumbo cast iron burger will burn by the time it fully melts, and much of it will slide off!
- Put the cheese on the burgers HALFWAY THROUGH the second side. In other words, (for these thick burgers), you wold cook 4 minutes, flip, splash Worcestershire, cook for 2 minutes, then add the cheese, then cook the final 2 minutes COVERED.
- Yep, you will be happiest if you cover the burgers during this last bit of cooking. The cheese will melt better!
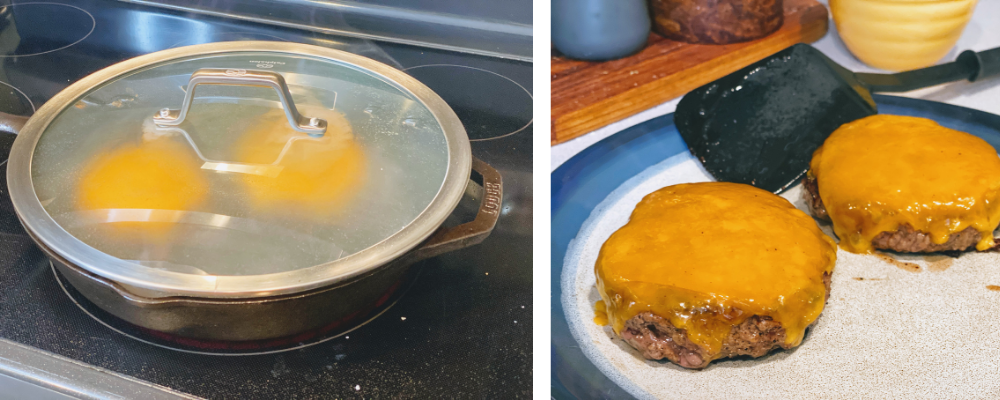
When you remove the cooked burgers from the pan, set them on a plate and loosely cover with foil.
Buns out!
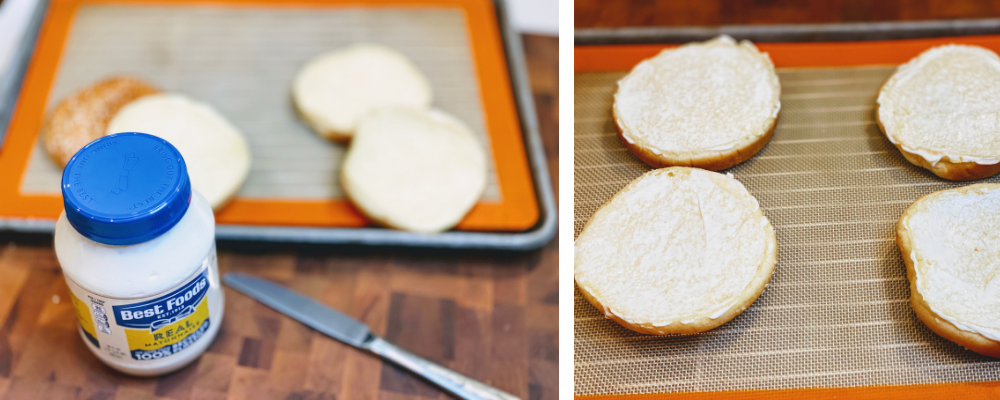
Turn your oven on to BROIL and place the top rack about 6″ to 8″ from the top of the oven. While the oven heats up, spread a thin layer of mayonnaise on each bun and place them cut-side up on a sheet pan.
WAIT. Mayo?? Yes, mayo. Trust me. More spreadable and you get the same crispiness as butter,
Keep an eye out!
Pop the buns under the broiler for around 2-3 minutes. Temps can vary greatly from oven to oven so watch these closely and do not walk away.
When you pull the buns out, let them rest for a minute or two before adding condiments & toppings. If they are slightly cooled, they firm up and stand up better to toppings!
TIP: I find that placing the lettuce UNDER the patty helps keep the bun from getting soggy!
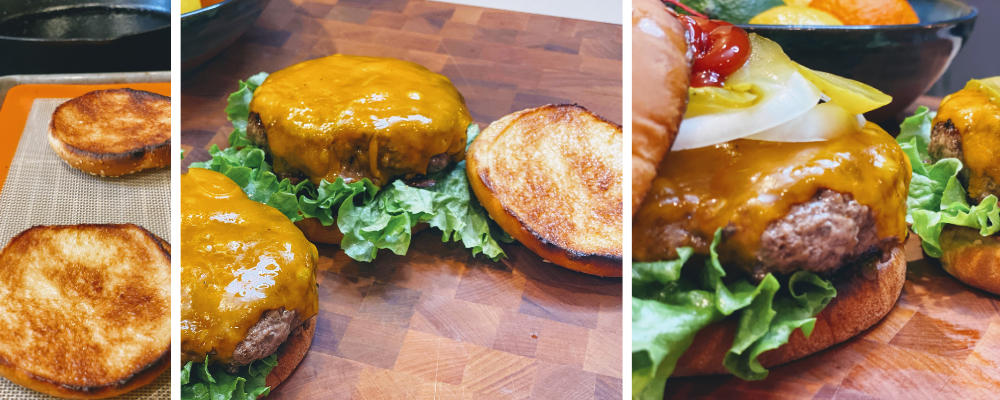
In our house, lettuce, onion, and pickle are mainstays. I’m not a mayo guy for burgers – just a but of kethchup & mustard. If I’m feeling super crazy, I’ll add some crisp bacon and a dollop of my Sweet & Spicy BBQ Sauce (also good for dipping potato wedges or sweet potato fries!)


0 Comments