


RECOMMENDED VIBE:
Here’s an album I thought you might enjoy while cooking this recipe ?
Gotta stay in shape!
Shaping burger patties always seems like such a simple thing. But for most of my cooking lie, I was terrible at it. Mine would always fall apart on the grill or end up overworked and dense. This simple DIY Burger Patty Mold is the answer!
When it comes to handling burgers, here’s what we know:
- Hands-off: try to handle the meat as little as possible! This is NOT meatloaf, and we do not want a dense texture – over-mixing and handling the meat too much can result in a dense burger.
- Keep your cool: cold is your friend when shaping patties. As the fat warms up, it becomes sticky and mushy. Keep the meat in the fridge until you are ready to shape your patties, and pop them back in the fridge until you’re ready to cook.
- Less is more: there is really no need to season the ground beef before shaping your patties. Will it ruin things completely? Probably not. But the more you add to the meat, the more chance you have of ruining the texture or masking the true flavor of the burger. Salt, for example, will begin to draw moisture out of the meat, resulting in a dry interior and a watery exterior that won’t brown well.
The hardware
The solution to my former burger-shaping deficiencies is all in the tools. By using a simple mold, I can create uniform patties while barely touching the meat itself.
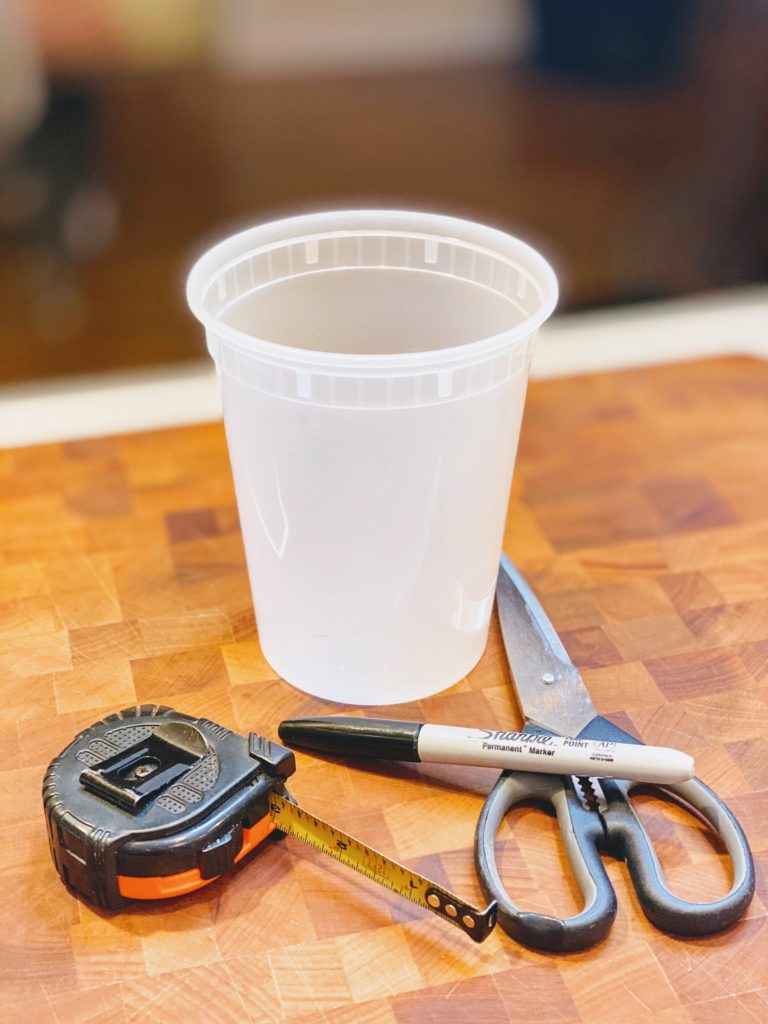
You will need:
- A plastic butter or sour cream tub, or a takeout container
- A ruler or measuring tape
- A marker
- Kitchen shears, sharp scissors, or an exacto/box knife
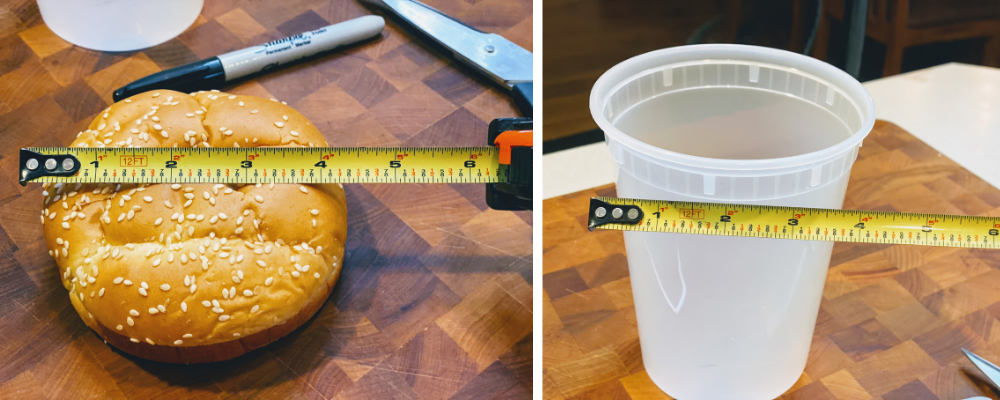
Step 1: Measure – decide how big you want your patties to be (makes sense to measure the bun, yes?)
Step 2: Mark – find the place on the container that is roughly the diameter you want, and mark it. Them make a mark about ¾” above and ¾” below. Repeat the top and bottom marks around the container as a cutting guide.
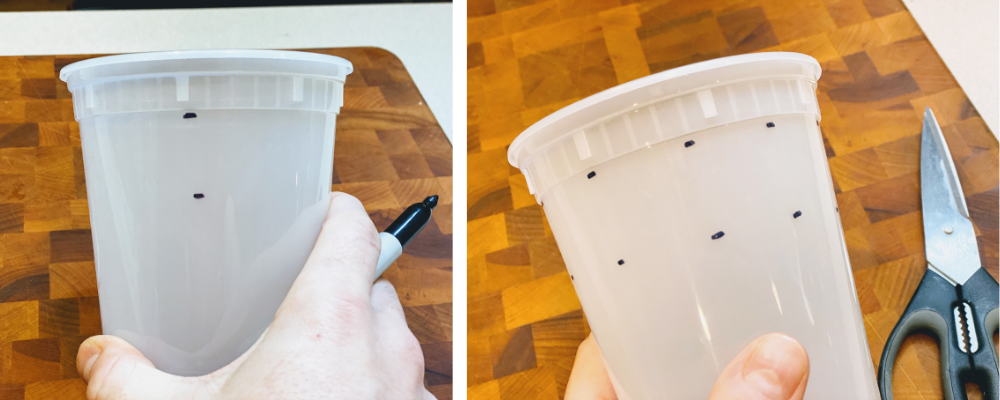
Step 3: Cut it out – carefully snip out your ring, and clean up any sharp spots.
Ta-Dah!

How to use your mold
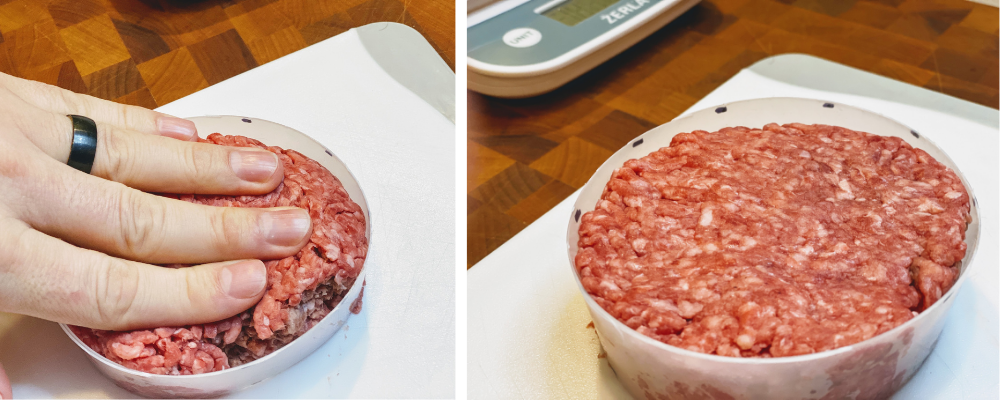
In the photos below, you can see how I measure each patty by weight and put the meat in the center of the mold. Since your mold will likely be slightly tapered – as mine is – put the narrower end facing down on your work surface.
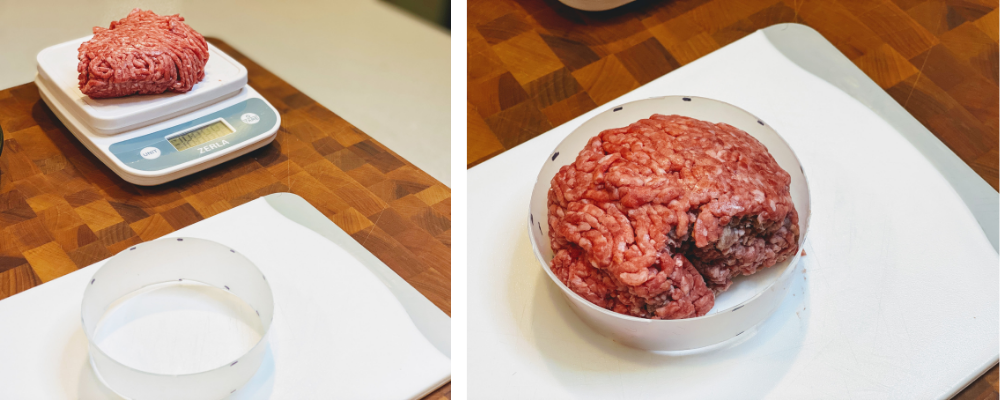
Then, press the meat gently so that it completely fills the mold with no gaps. Press as gently as you can while still achieving this.
Finally, flip the mold over so that the slightly wider side faces down (you want to do this on plate or tray lined with parchment – so that you don’t need to handle it again to get it into the fridge.
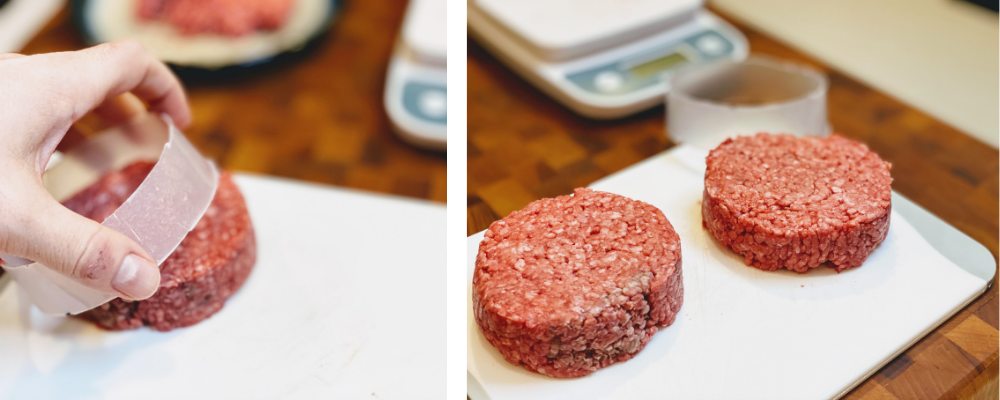
Gently press the patty out of the mold, and voila! Beautiful, uniform patties!
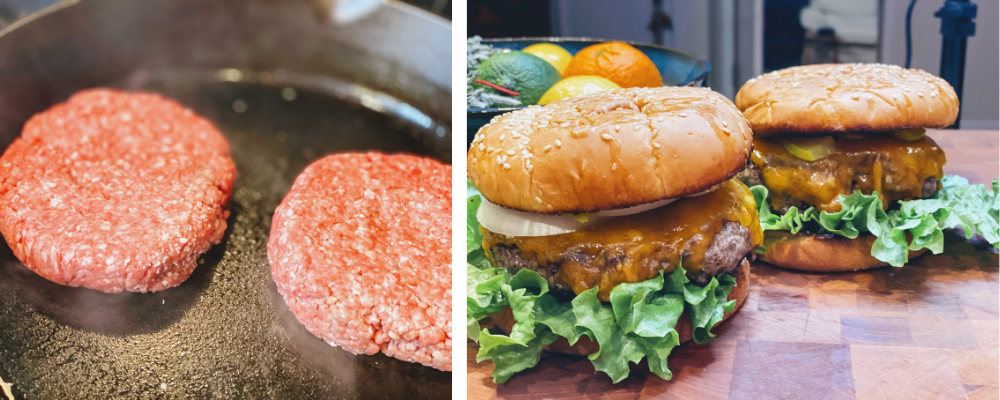
Pop your patties in the fridge until you are ready to cook. NO SEASONING – a little salt & pepper just as they go on the heat is all they need!
Check out my full recipe for JUMBO Cast Iron Burgers!


0 Comments