


RECOMMENDED VIBE:
Here’s an album I thought you might enjoy while cooking this recipe ?
Simple doesn’t always mean fast!
This classic pot roast recipe takes a bit of patience, but not a lot of skill. Each individual step is simple and easy, so if you follow these steps, you can’t go wrong!
I’ve been known to take the longer route to the grocery store, simply to avoid tricky turns and too much traffic. I’m also guilty of parking in the first spot I see – no matter how remote – instead of doing laps to find the perfect parking place. What’s my point? Sometimes a bit of time can buy you a lot of simplicity. (I usually get to the store entrance faster than the perfect-spot hunters) Think of cooking the same way; simple doesn’t always mean fast, and fast doesn’t always mean simple!
This classic pot roast recipe is a perfect example. None of the steps is very complicated, but a perfect roast requires patience. This is a great recipe for a lazy, rainy Northwest weekend.
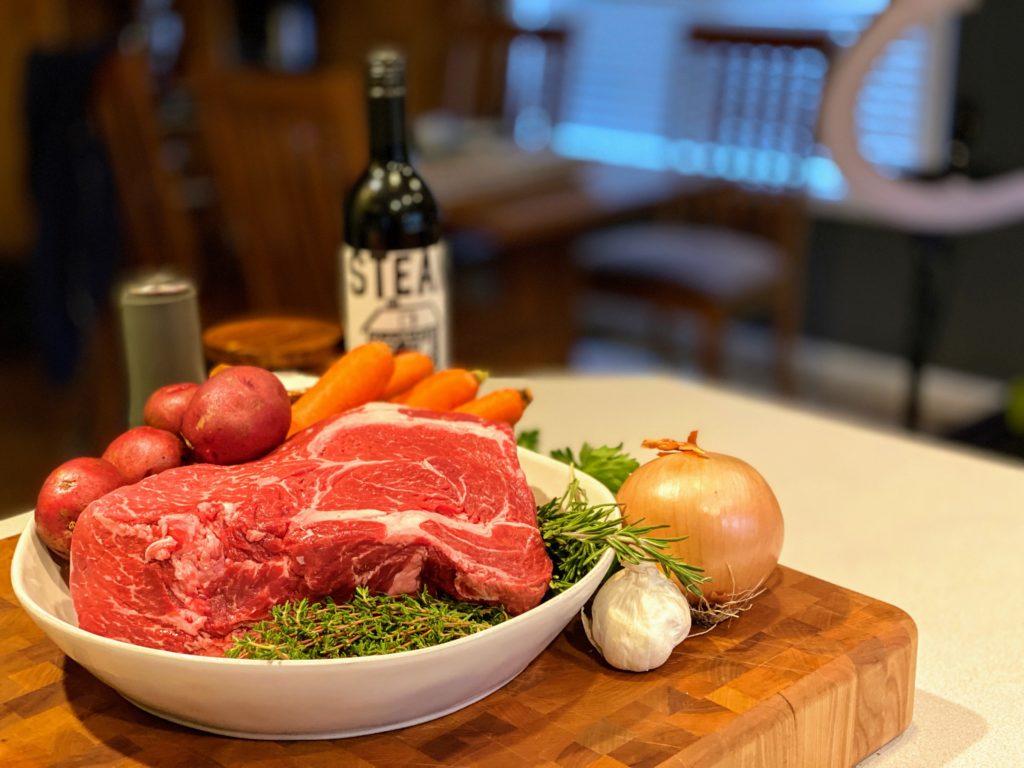
‘Mise en place’
This is a fancy chef term that just means gathering and preparing all of your ingredients before you begin cooking. Roughly translated, it means ‘everything in its place’. I find that when I focus on this step, the cooking goes much more smoothly! Truth be told, I enjoy the methodical preparation almost as much as the cooking!
Gather all the ingredients for your Classic Pot Roast together. This is also a great opportunity to read through the full recipe to make sure there are no surprises!
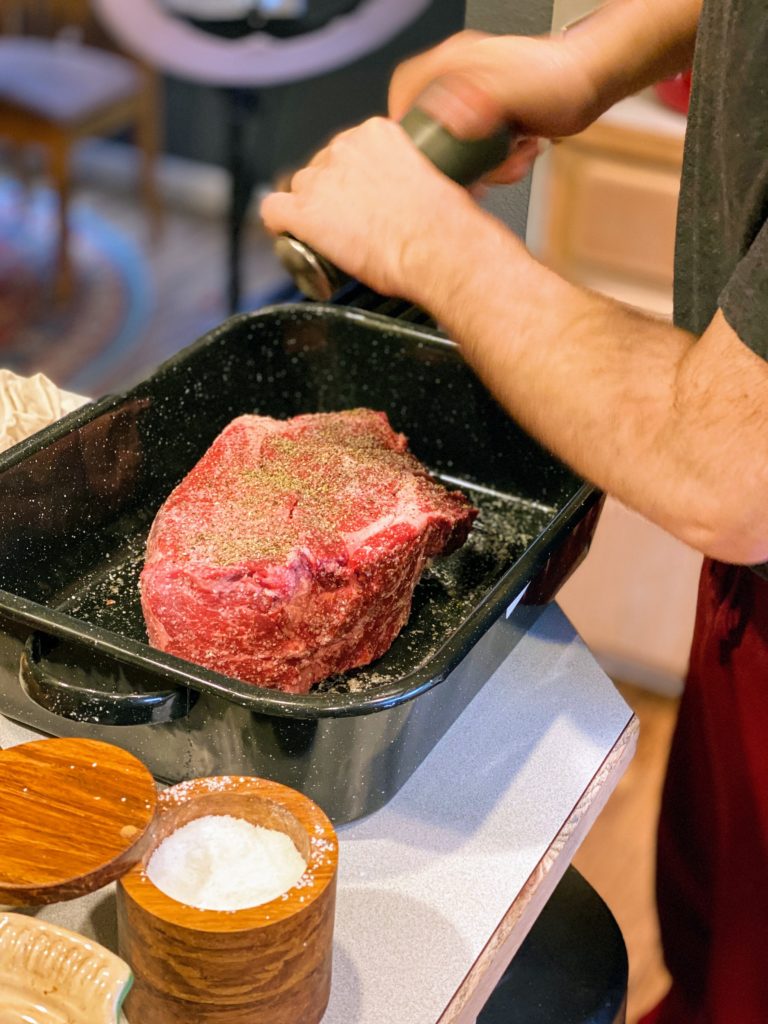
Season & sear!
The first step in this classic pot roast recipe is to season our roast with salt and pepper, and then sear (cook very quickly at a very high temperature) the roast on ALL sides. This step is often said to “lock in flavor/juices”, though I’ve heard many reputable chefs say that is does not actually have that effect. Juices and flavor will move in and out of the meat through osmosis while cooking, and a nice rich crust will not impede that. What this step DOES do, is to BUILD flavor through something known as….
The Maillard Reaction!
Ok, ok, now we’re getting a bit technical – so I’ll be brief. Why does meat brown in a hot pan? Why does baked bread get that lovely golden-brown crust? The answer is the Maillard reaction. This is what we are going for with the searing step. Browning the surface of the roast begins the deliciousness by building up a savory, beefy flavor.
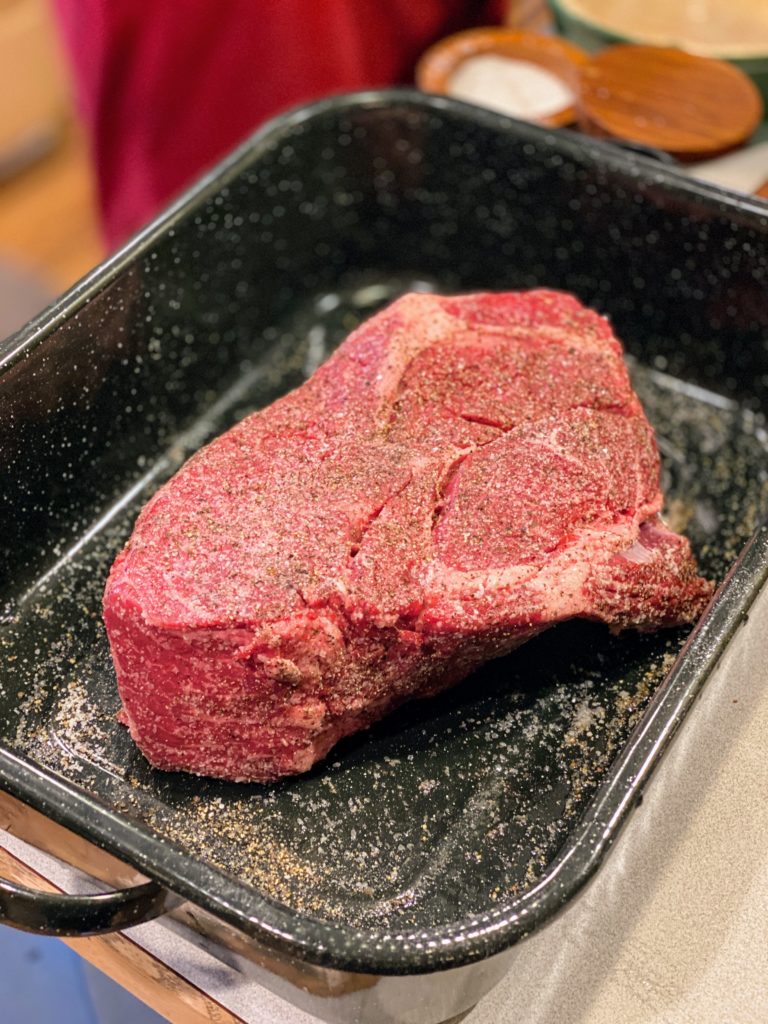
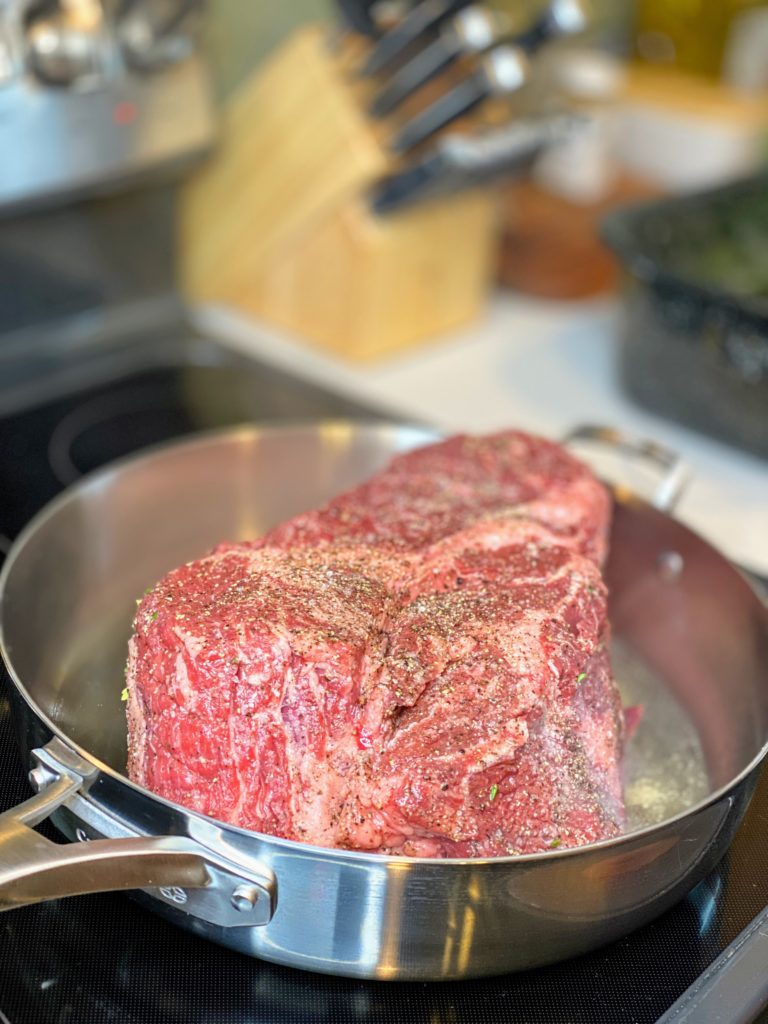
First, we’ll season the roast. The exact amounts of salt and pepper depend on the size of the roast. You want to generously coat all sides with kosher salt and cracked black pepper. It may seem like a lot of seasoning, but have faith. This is a very large piece of meat, and the seasoning will provide flavor for the sauce, vegetables, and gravy as well.
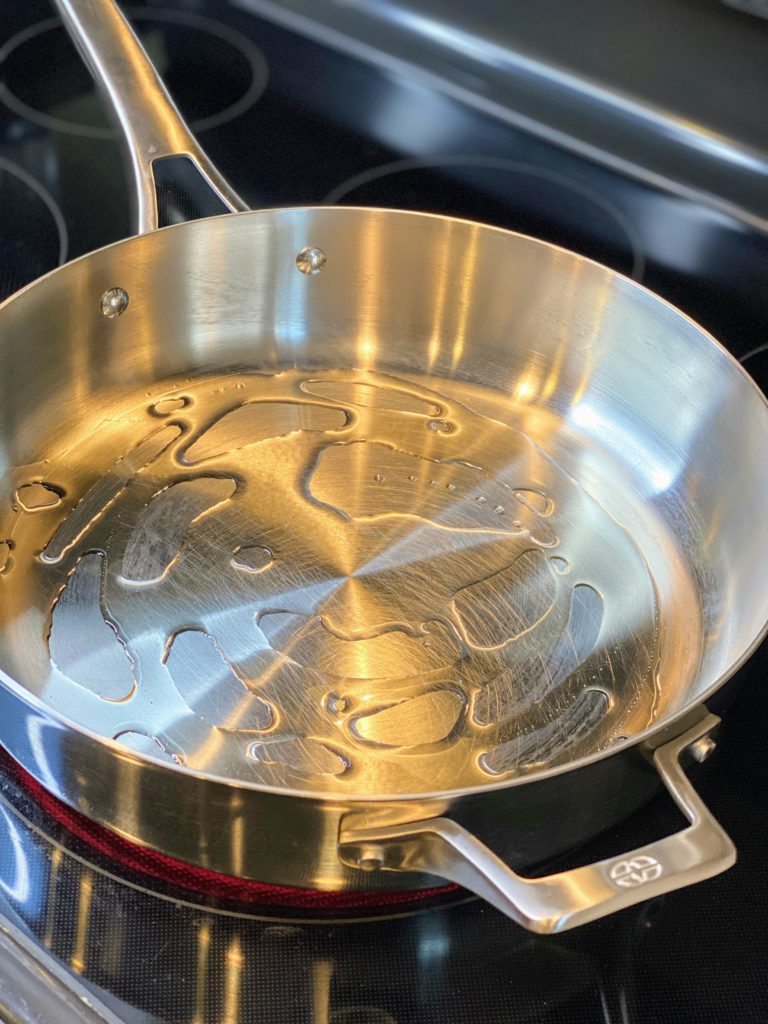
Hot pan!
For this step, you want to use a good skillet, frying pan or dutch oven. Cast iron would be great for this Classic Pot Roast. I’m using one of the new Calphalon Premiere Stainless Steel pans that Wonderful Wife gave me this Christmas! (I’m not affiliated or connected to Calphalon at all – just a fan of these great pans!
Heat your pan over high heat before adding the oil to the pan. Also, be sure to use an oil with a high smoke point, like canola, avocado or grape seed oil for this classic pot roast recipe. Olive oil and butter will burn and become bitter at these temperatures.
There WILL be smoke!
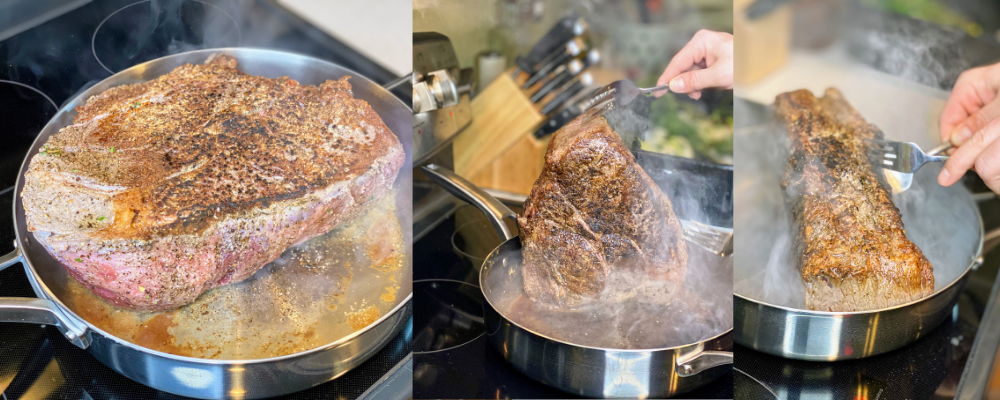
You’ll want your oven fan on for this step of our classic pot roast recipe. There will definitely be smoke, and that’s completely fine! We want to get that quick, dark crust on all sides of the roast.
Once the pan is hot and the oil just begins to smoke, carefully place the roast in the pan and leave it alone for 2-3 minutes. See my photos to see the color we’re going for.
Hands-on process!
Don’t walk away during this step. It can be tricky to hold the roast steady as it sears on all sides. I like to use 2 forks to carefully hold things in place for the sides.
Be patient! You are building flavor for you Classic Pot Roast – be sure to get some color on every side of the roast.
Veggie time!
Once the pot roast is seared on all sides, remove it from the pan and set aside.
The vegetables will be cooked in 2 waves. We want to add some flavor to the pot from the get-go, but leaving veggies in for the full cook time would result in mush that is great for gravy, but bad for side dishes.
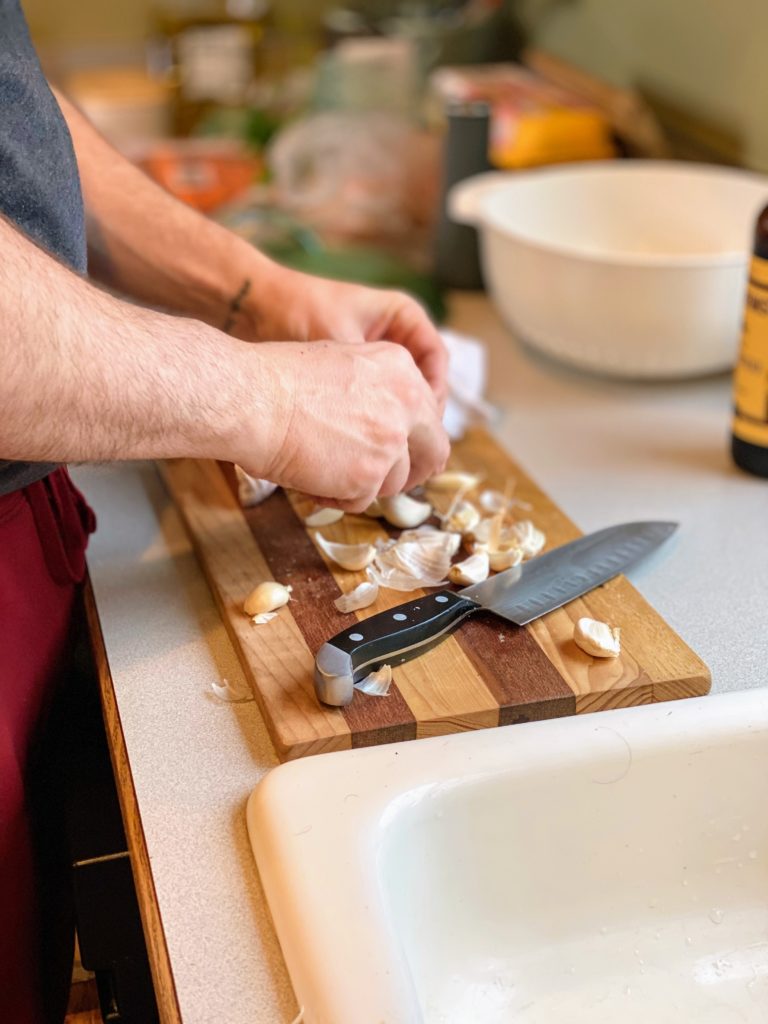
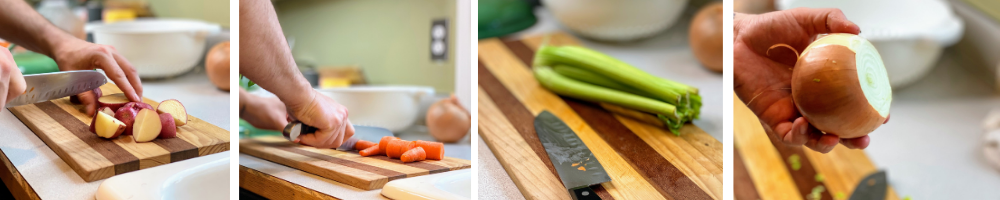
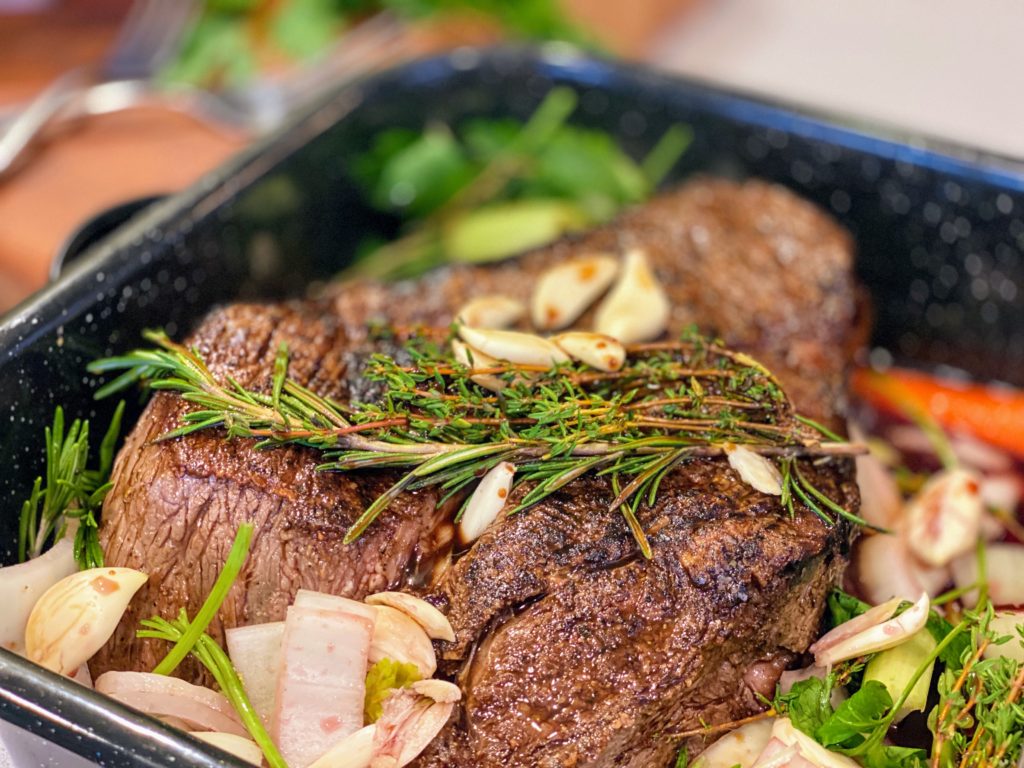
For now, peel the garlic cloves and give a very rough chop to one of the onions and two of the carrots. Place these veggies in the bottom of the roasting pan.
Set the seared roast on top of the veggies, and lay the herbs across the top of the roast. Pour the wineover the roast, and then pour in enough beef broth so that the liquid reaches ⅓ to ½ of the way up the roast. Lastly, pour the Worcestershire sauce over the roast.
The exact amount of liquid needed will depend on the size of your roast and the size of the cooking vessel. The roast pictured is a 6-pounder, as I was preparing this for a large family dinner to celebrate Dear Old Dad’s 79th birthday. This required me to use a very large roasting pan, so I needed a bit more liquid. Normally, if I were making a smaller roast (2-4 lbs, appropriate for a normal dinner for 4-6) I would have used my dutch oven.
If you have a cooking vessel with a sturdy lid, it makes things easier. If not, you’ll need to cover the pot tightly with a couple layers of foil for the first part of the cook.
Cook to 160-degrees before adding the rest of the veggies
This is definitely a good time to have a digital probe thermometer. At the very least you should have an instant-read thermometer. These are inexpensive tools that take ALL of the guesswork out of cooking. The digital probe thermometer makes grilling, smoking and roasting meats a breeze – you just insert it into the thickest part of the meat, and you can watch the internal temp rise as you sip your wine and visit with your people!
Again, I have no affiliation or sponsorship, but I swear by these two products by Thermo-Pro:
If you are using an instant-read or meat thermometer, you’ll want to check the temperature after the 1st hour, and then periodically to see where things are.
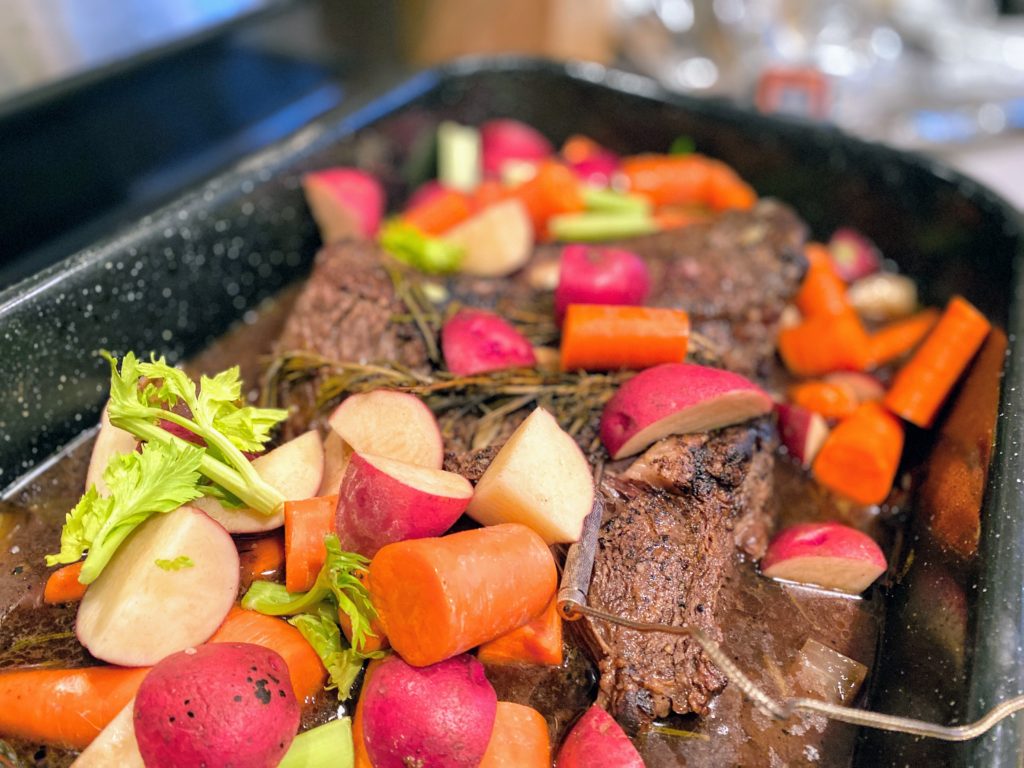
Once the internal temperature reaches 160, it’s time to remove the cover and add the remaining vegetables. Just nestle them around the roast and return, uncovered, to the oven.
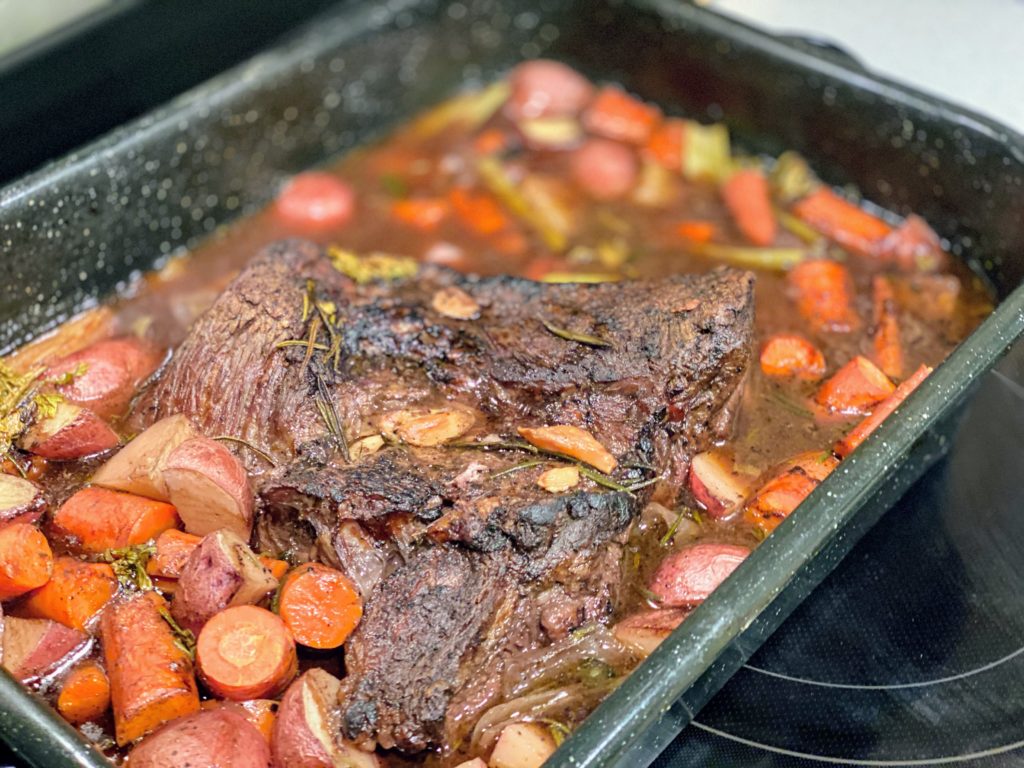
Roast an additional 1-2 hours, until the internal temperature reaches 190.
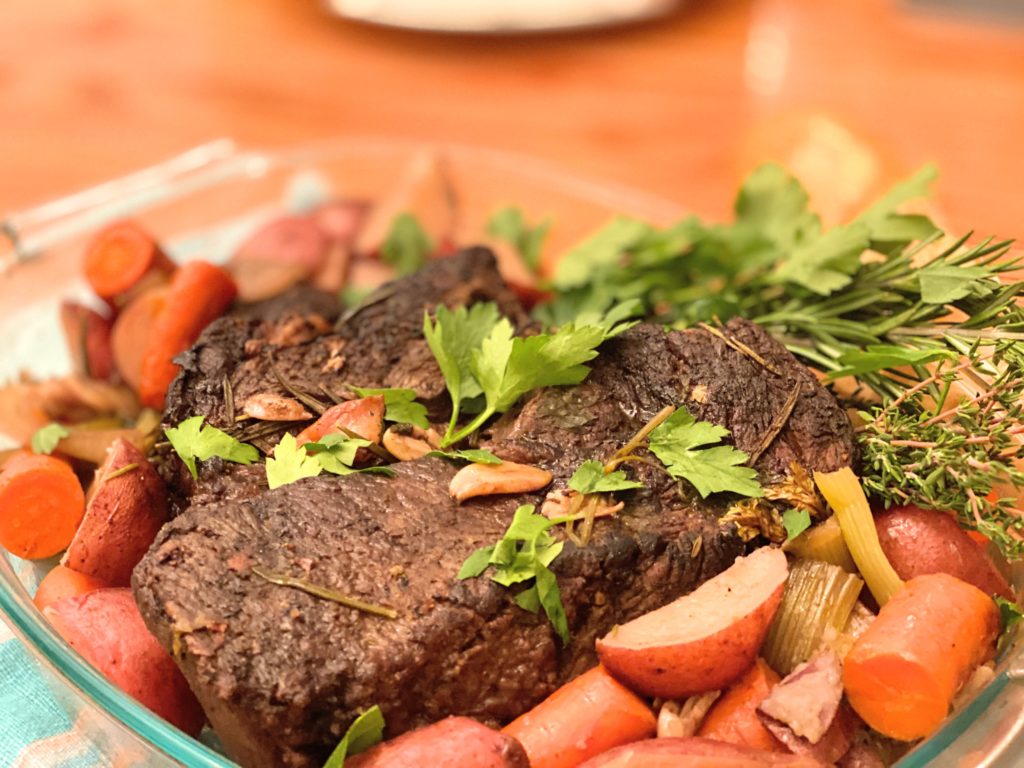
Remove the roast to a platter or cutting board, remove the whole vegetables to a serving platter or bowl, and strain remaining liquid into a heat-proof container such as a saucepan, pyrex container or mason jar. Place liquid in the refrigerator for 10 minutes to allow the fat to separate and rise to the top.
Gravy? Your call!
To make gravy from the pan juices, remove the juices from the refrigerator after 10 minutes or more. Spoon off as much fat as possible, but don’t worry about getting every speck – you’ll want some for the gravy to thicken.
Place the drippings in a saucepan or small saute pan over medium heat. While this heats up, place the flour and wine in a sealed container and shake vigorously to form a slurry.
When drippings just begin to bubble, pour the wine/flour slurry into the pan and whisk constantly until the gravy reaches a gentle boil. (Bump the heat to medium-high if needed) Allow the mixture to boil gently for 1 minute, whisking constantly. Reduce the heat to low and continue whisking until you reach your desired consistency. Taste and season with salt & pepper as needed.


0 Comments