


RECOMMENDED VIBE:
Here’s an album I thought you might enjoy while cooking this recipe ?
Fast & Simple
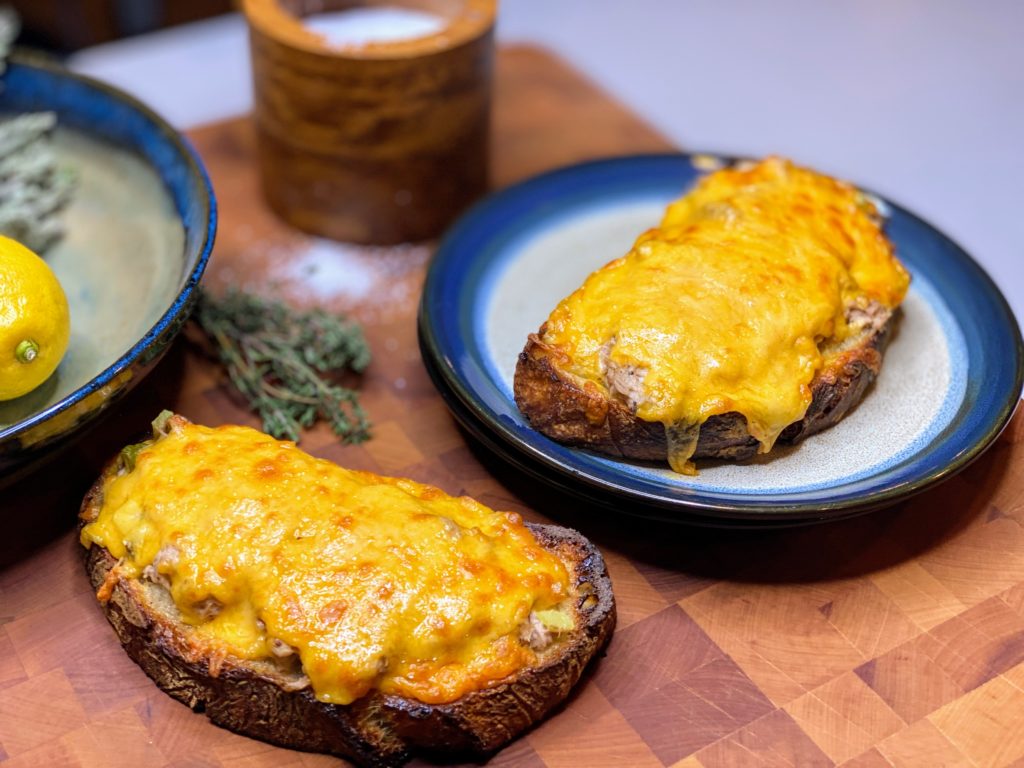
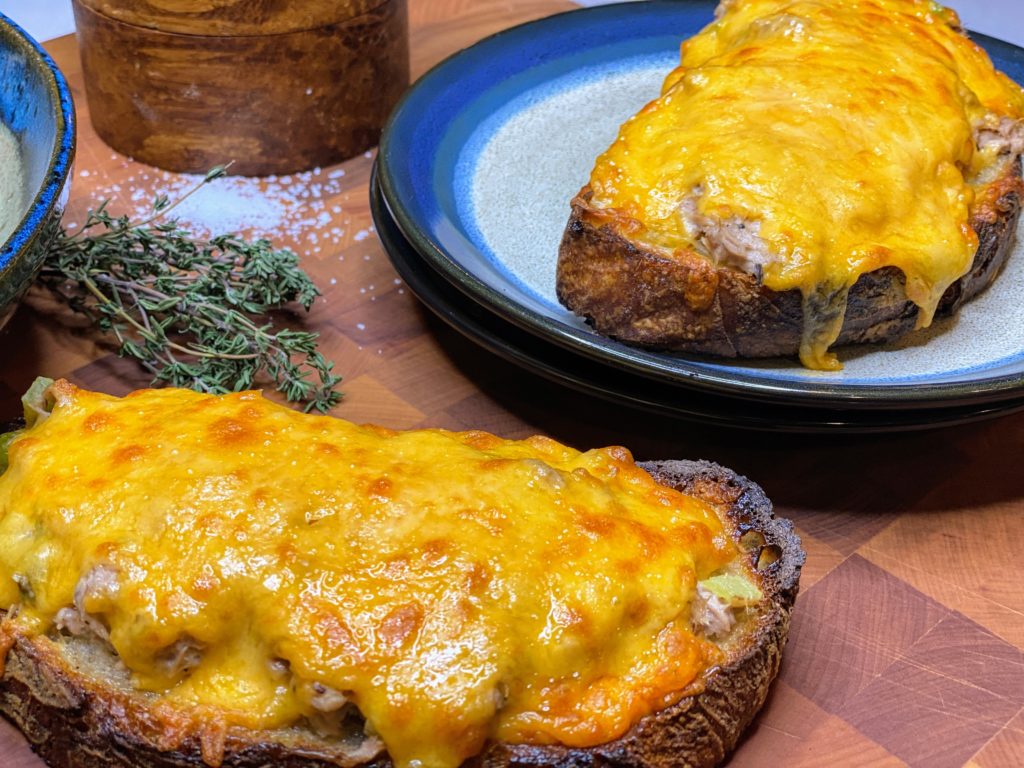
Tuna melts are at the top of the comfort food list in our house. Fortunately, we almost always have the ingredients on hand, and the whole process of creating these easy, cheesy tuna melts takes around 15 minutes!
While you gather the ingredients for your tuna melts, turn the oven on to BROIL, and place the oven rack approximately 6-8 inches from the top of the oven.
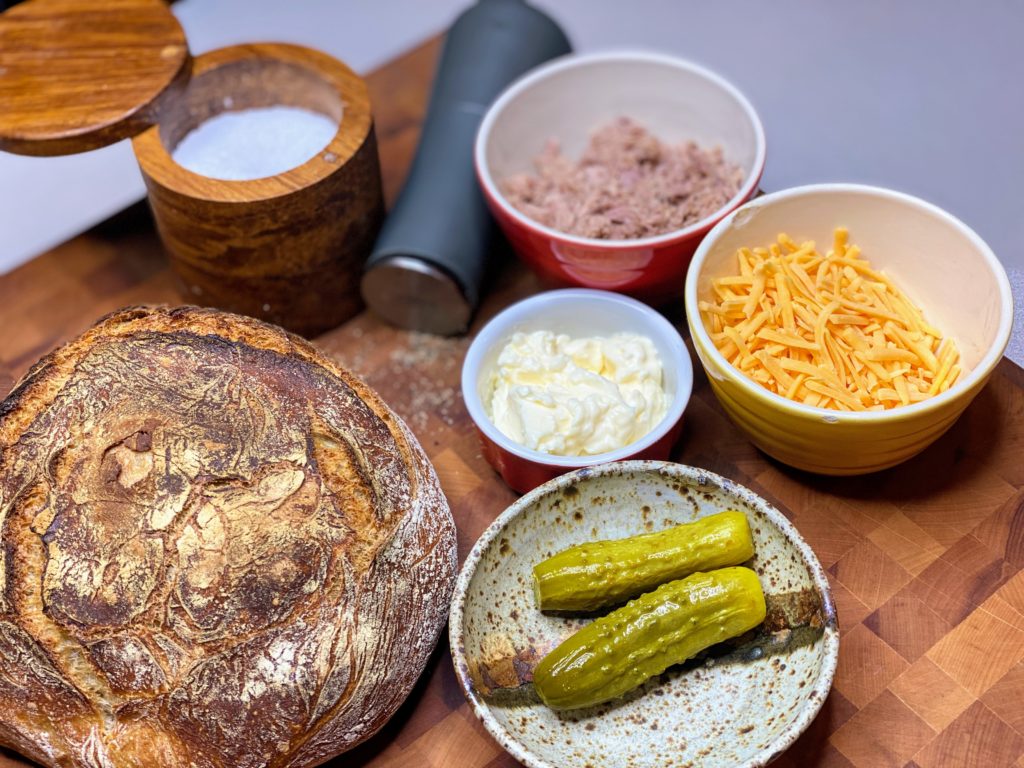
The ingredients
As always, I suggest you gather up all you’ll need and do any washing, measuring, chopping, etc. For these Easy Cheesy Tuna Melts for two, you’ll just need some good bread, some cheese, and whatever YOU like in your tuna salad.
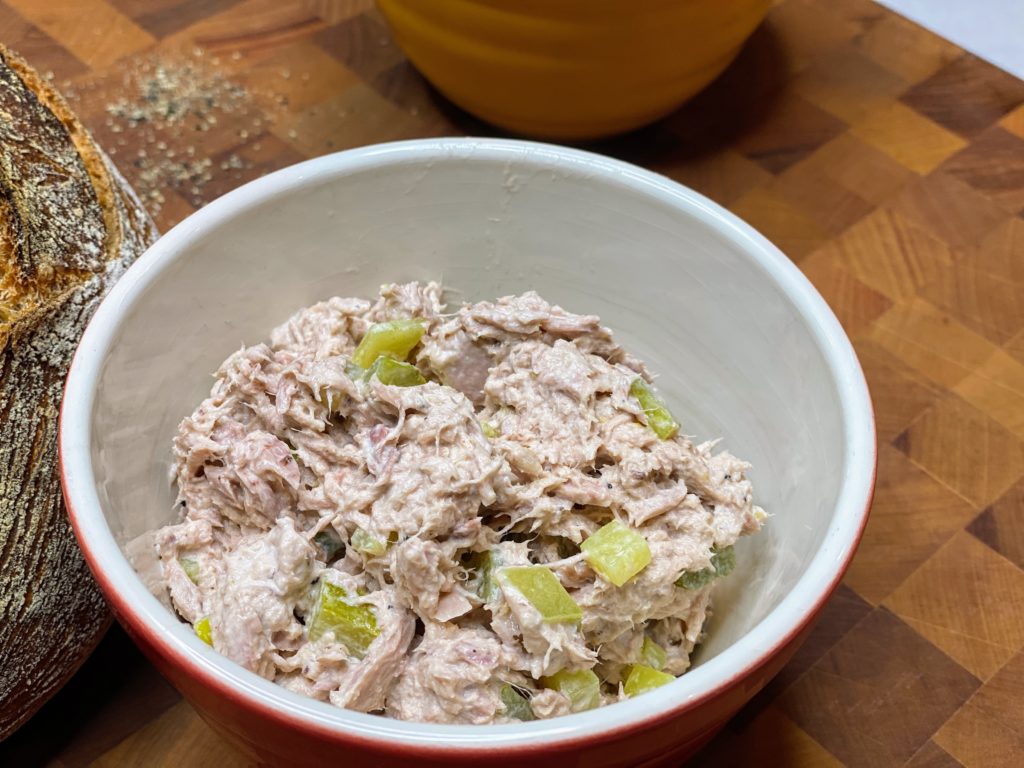
The first thing I do is make up the tuna salad itself. Just combine the drained tuna, mayo, pickle, salt and pepper and give it a stir!
How do YOU tuna?
Tuna salad is like any salad – the exact proportions and ingredients are 100% flexible. We’re not making a souffle here, so nothing will be ruined by adding or subtracting here and there.
Here are the essentials for my Easy Cheesy Tuna Melts, and how you might vary them up!
- TUNA – Ok, maybe this one is obvious, BUT, you could use leftover (or canned!) salmon, or chicken, or tempeh, or…
- MAYO – We are traditional about our mayo, but there are many varieties available! Vegan mayo, olive oil mayo, or even easy DIY flavored mayo such as chipotle mayo, lemon pepper mayo, or even buffalo blue cheese mayo!
- PICKLE – We’re using chopped dill pickles courtesy of Dear Old Father-in-Law. You could use whatever you’ve got on-hand, including sweet or dill relish. Wonderful Wife is not a fan of sweet pickles, so we avoid those. (I grew up using sweet relish in my tuna salad, and still love to go that route sometimes! Regardless, some sort of briny pop really elevates things.
- OTHER STUFF – Chopped onion, lemon juice, capers, celery, diced hot peppers, hot sauce, fresh herbs, minced garlic…go nuts! (Ooh, nuts!)
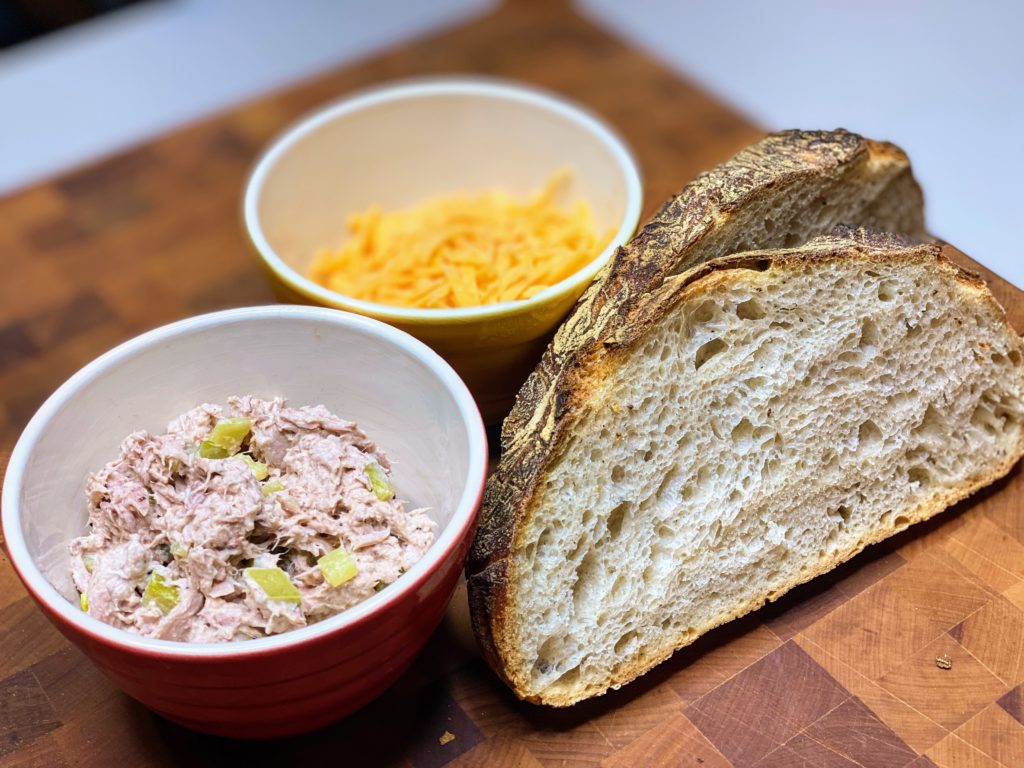
Bread choices
Just about any bread will work for these Easy Cheesy Tuna Melts, so you should go with your preference. Generally, a slightly thicker/sturdier bread will work best for tuna melts. Fortunately, Wonderful Wife bakes delicious sourdough loaves, so that’s what we’re going with. If you’re slicing your own, aim for somewhere between ¾” and 1″ thick.

Slather!
You’ll partially toast the bread before adding the tuna and cheese, so it’s helpful to add a bit of fat to help things toast up. You could skip this step if you’re avoiding fats, but it will help the bread toast evenly to a perfect crunch.
My spread of choice for my Easy Cheesy Tuna Melts (and grilled cheese!) is mayonnaise. I learned this trick a few years back, and though it feels a bit odd to use mayo this way, you won’t be sorry. You get the same golden crunch as butter, with much easier spreadability. You could also brush the bread lightly with olive oil, or use a margarine or vegan butter.
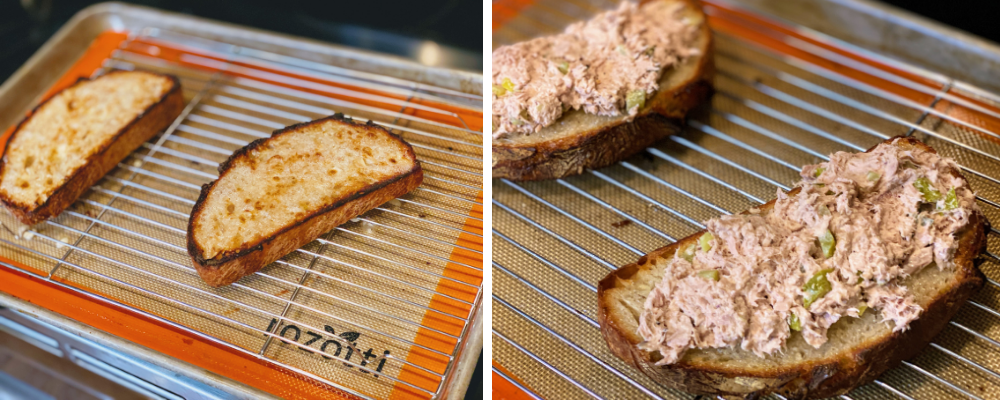
Toast!
Place the bread on a baking rack over a sheet pan lined with foil or a silicone mat, and pop it under the broiler until it gets a nice toastiness.
Don’t walk away from the oven! You need to keep an eye on your easy cheesy tuna melts for this step. Depending on your oven, this step could take between 1-4 minutes.
Flip & toast side 2 before adding the tuna
You want the bread toasted on both sides to avoid sogginess. So flip the bread and give it a toast on the other side as well. It doesn’t need to be AS toasted on this side.
In my oven, it went like this:
- Toast 1st side 3 min
- Flip
- Toast 2nd side 2 min
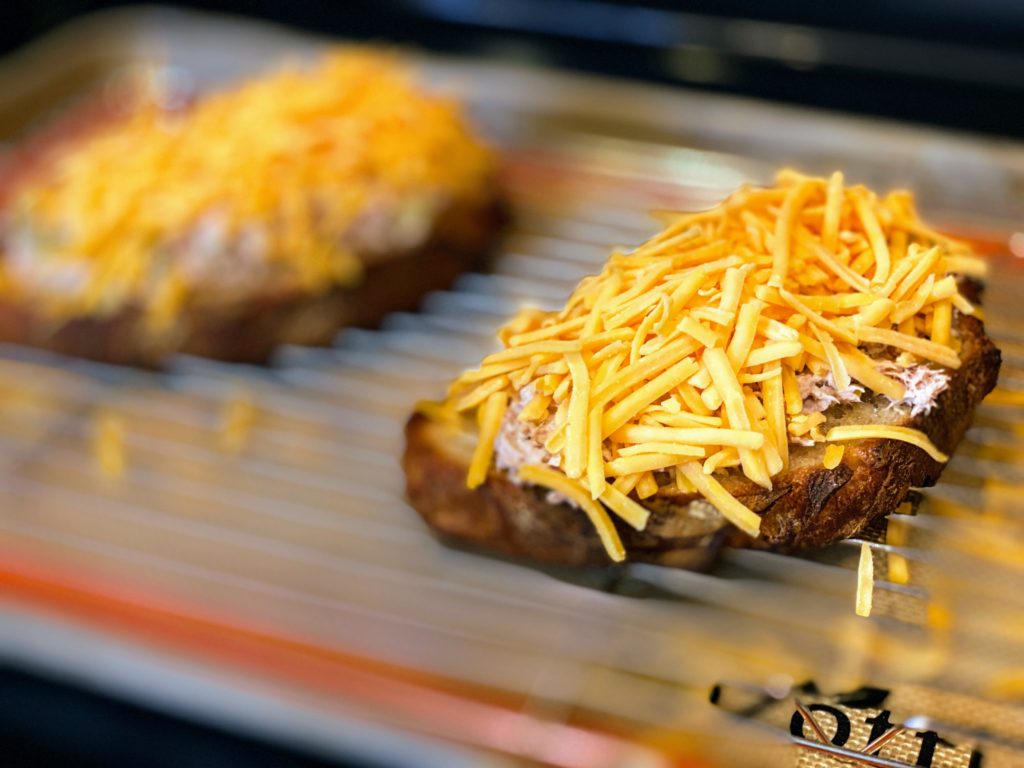
- Add the tuna and cheese to side 2!
- Toast 3-5 min until cheese is fully melted and slightly toasted
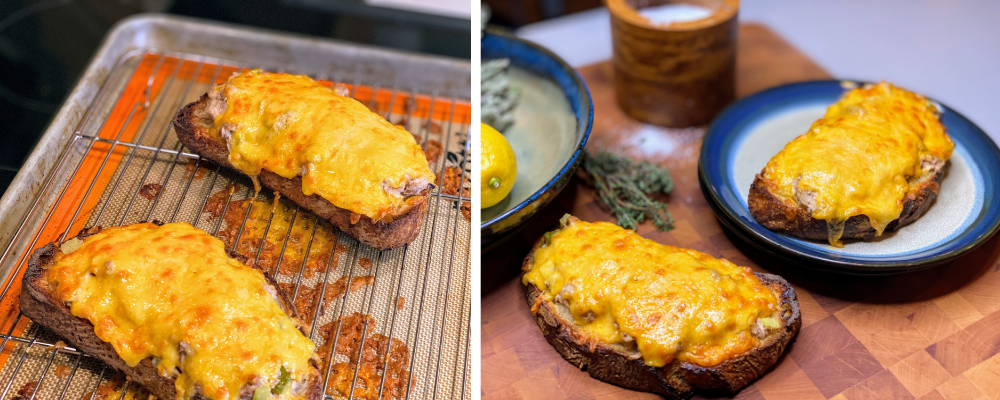
Save those cheesy drips!
If there’s a better argument for silicone mats, I don’t know what it is. The inevitable cheese overflow that happens with these tuna melts becomes the most addictive cheese crispies you’ve ever tasted. Crunch them as a snack, or over a baked potato, salad, or a bowl of soup!


0 Comments